All Categories


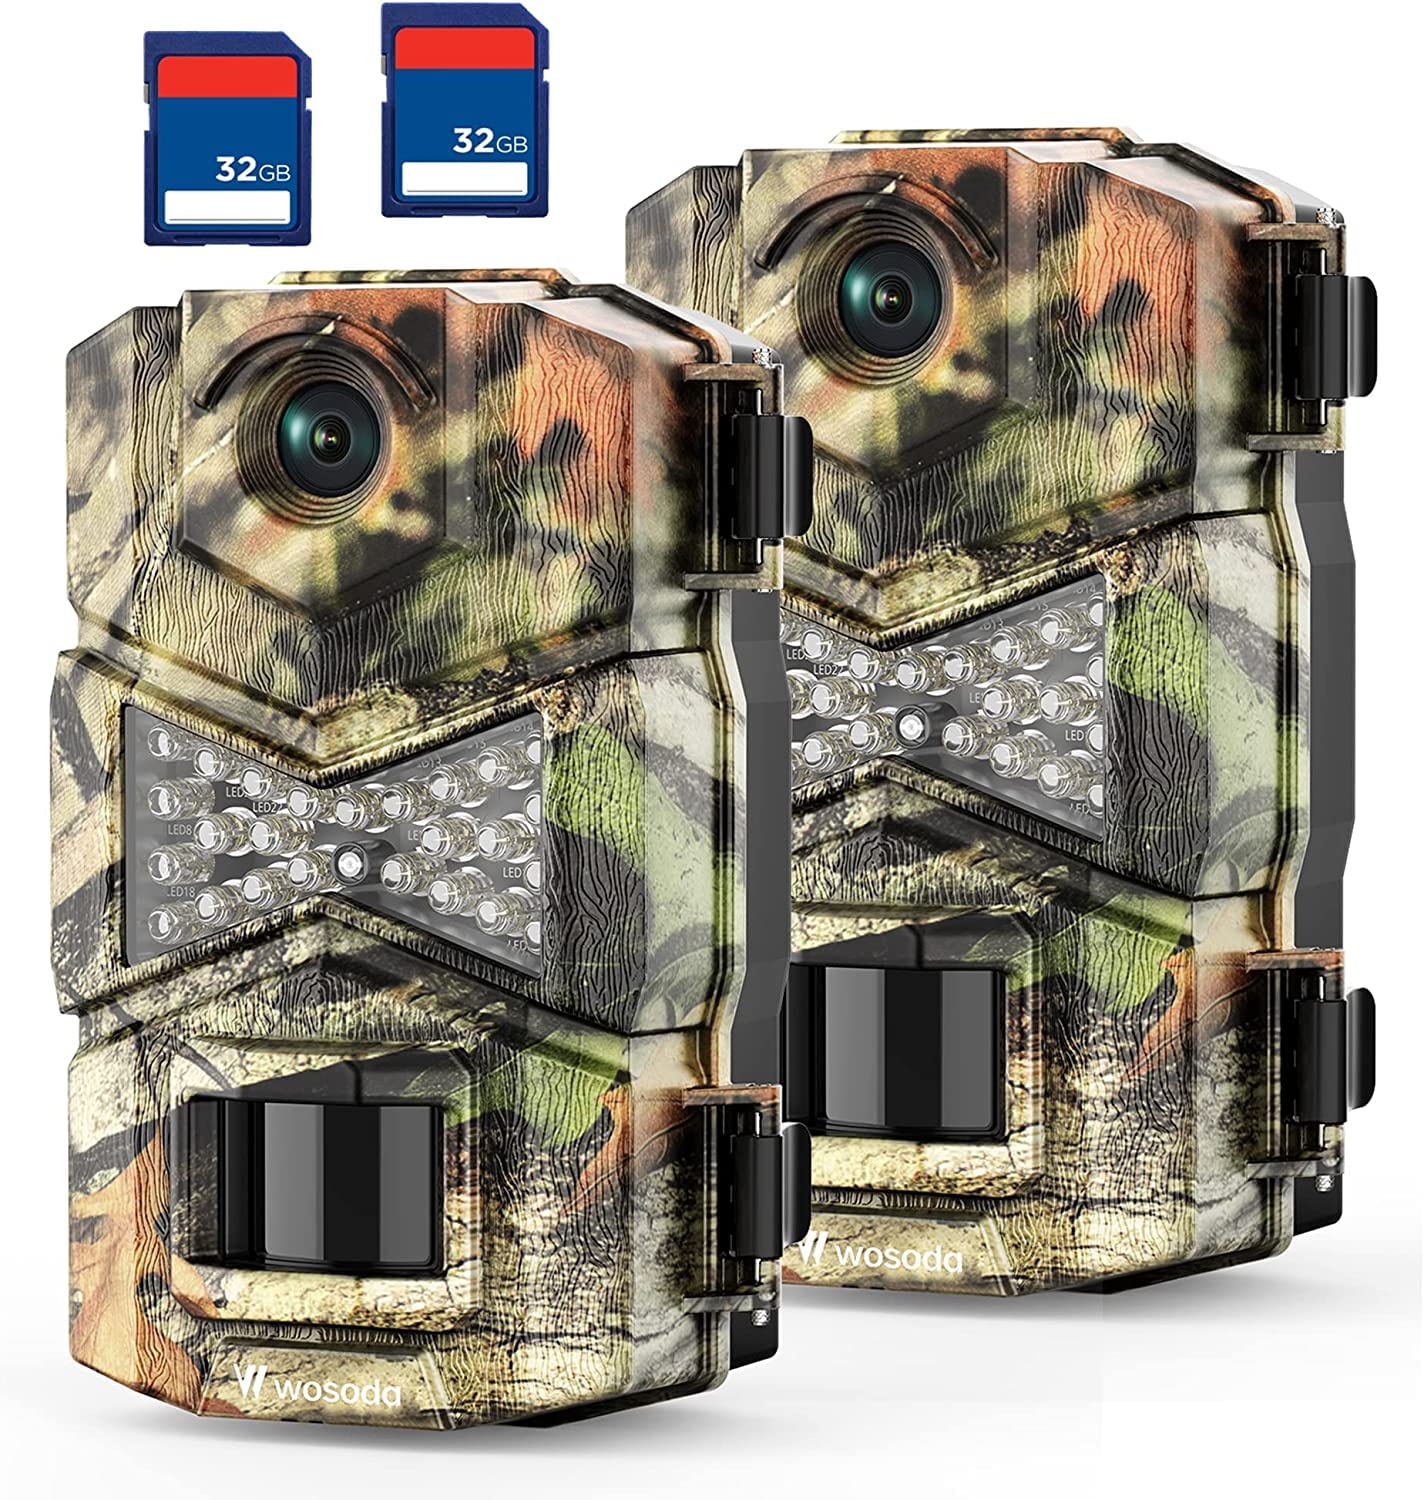
WOSODA Trail Camera 2 Pack 24MP 1080P HD - Game Camera With 32GB SD Card, Fast Trigger Time Infrared Night Vision Hunting Camera, Waterproof Wildlife Camera for Monitoring
Share Tweet
Get it between 2024-12-10 to 2024-12-17. Additional 3 business days for provincial shipping.
*Price and Stocks may change without prior notice
*Packaging of actual item may differ from photo shown
- Electrical items MAY be 110 volts.
- 7 Day Return Policy
- All products are genuine and original
- Cash On Delivery/Cash Upon Pickup Available


WOSODA Trail Camera 2 Pack 24MP 1080P HD - Game Features
-
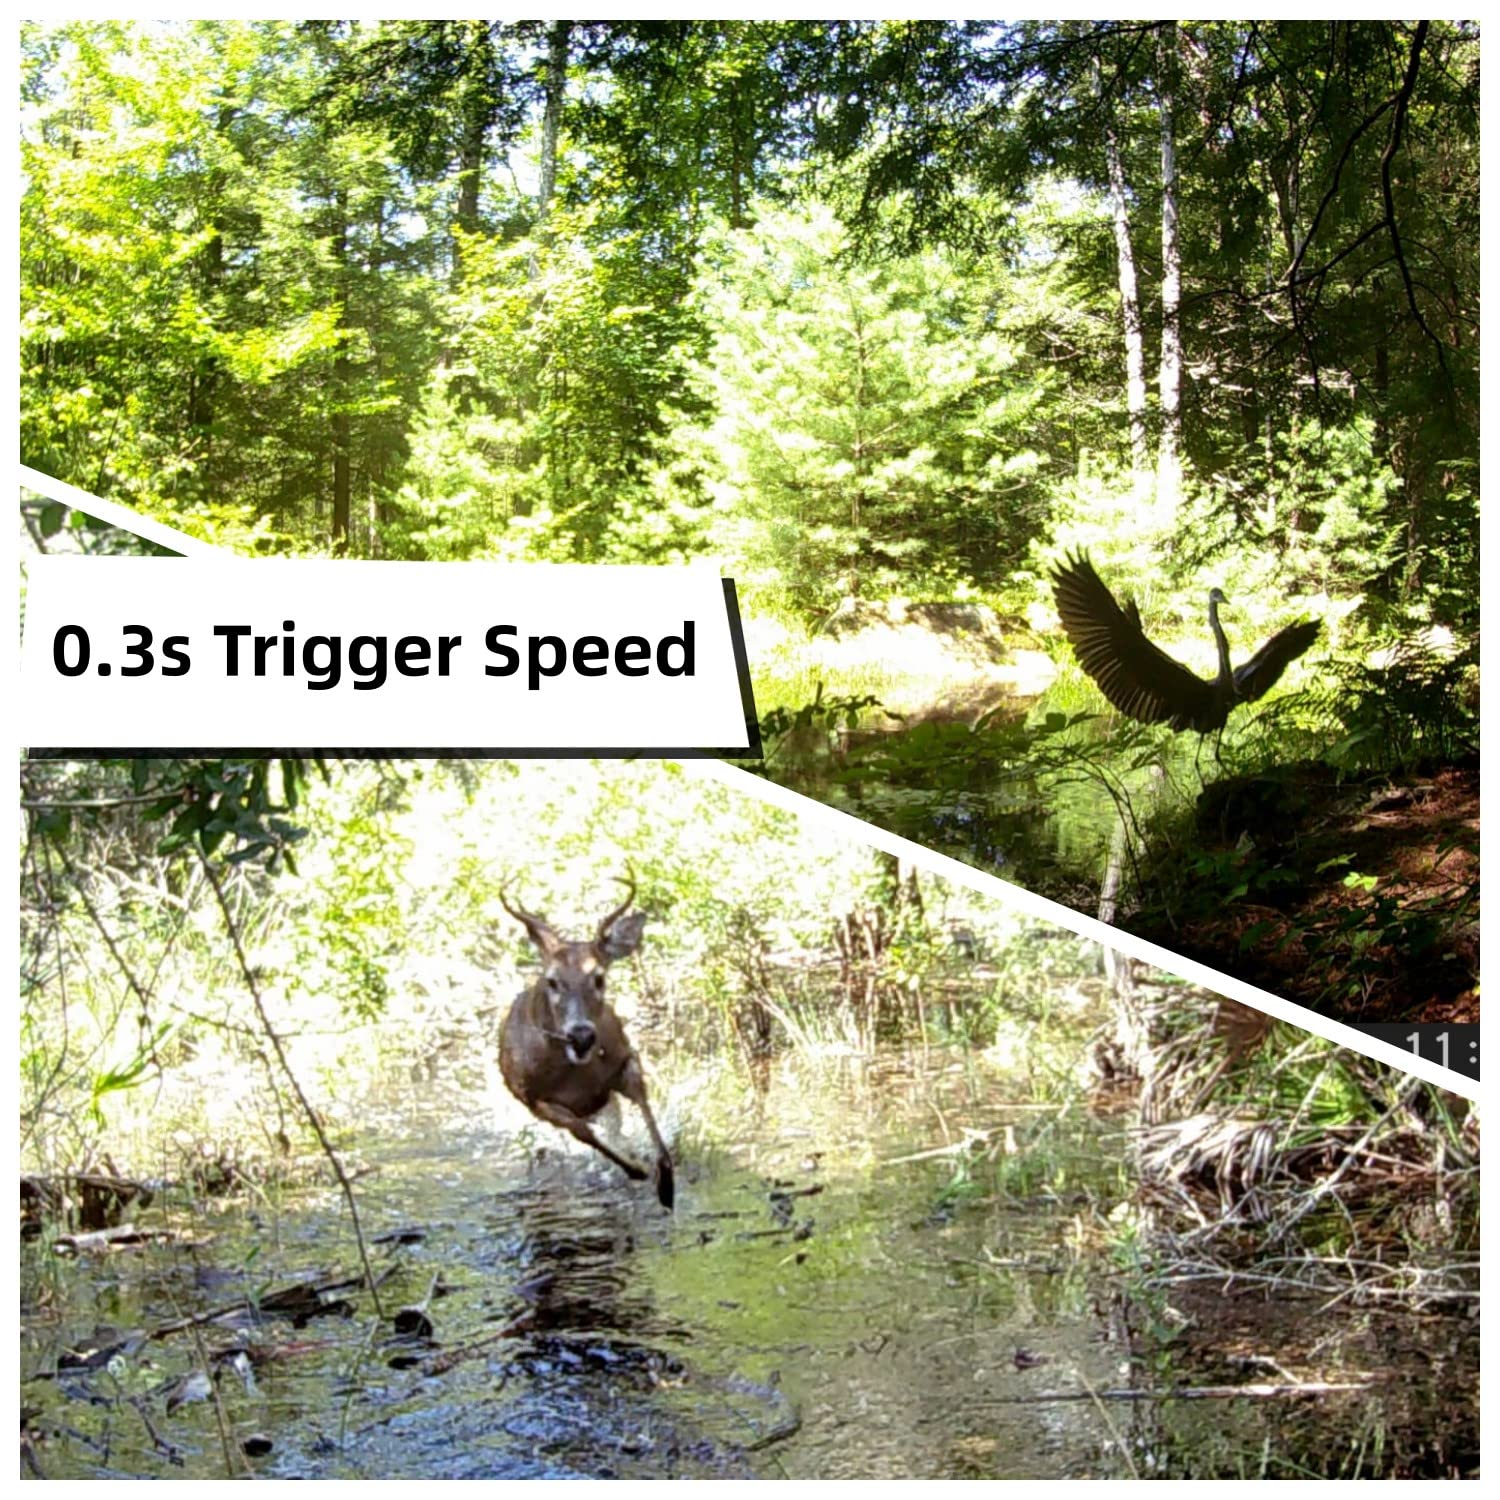
【FAST TRIGGER SPEED】: The WOSODA trail cameras will be triggered instantly in 0.3s without delay, once detecting the movement, you will never miss any exciting moments even at night, and the trigger distance is up to 60ft.
-
【HIGH-RESOLUTION PHOTOS & VIDEOS】: The game cameras captures 24 MP crystal images and full HD 1080P videos, providing high-quality details during daytime, black and white shots at night. (Included 2 pcs 32GB memory card).
-
【EXCELLENT SENSITIVITY】: The upgraded infrared LEDS of deer camera with night vision without bright flash can let you catch any moment even at dark night. 850nm Low Glow IR technology support super clear night vision.
-
【MORE CONCEALED】: The WOSODA hunting camera has mimetic appearance, which won’t disturb animal active, also it is equipped with mounting straps and stand mount support, easy to install in the position you need and not be found.
-
【WIDELY USED】: The waterproof trail cam comes with multi-recording modes and versatile functions(Time Switch/Timer/Time Stamp Function Etc.) perfect for the surveillance of reptiles, cold blooded animals or amphibians, at the same time, it reduces the inadvertent shoot caused by the leaves or grass, saved power and SD card storage space.
About WOSODA Trail Camera 2 Pack 24MP 1080P HD - Game
Camera Operation Steps Please loading the batteries and inserting the SD Card before using this camera. 1. Open the front cover, you can see the “EJECT ” button. 2. Please be sure that switch the camera’s power OFF when loading/unloading batteries or inserting SD card. 3. Press the Battery Tray EJECT button to release the battery tray and pull it out for loading. 4. Be sure to inset each battery so its polarity(+/- direction) matches the polarity indications at the bottom of the battery tray. A full set of 8AA Alkaline or Lithium batteries should be used. 5. Press the battery tray into the host, you will hear a slight“click” sound, which means the battery compartment is locked. 6. Inserting the SD Card, and make sure that the SD card is insert correctly . If you hear“click” sounds that means it has be inserted correctly. 7. Switch the camera’s power AIM, you are ready to go into the setup mode to get the camera ready to use, with all options set to your preference. 8. Moving the mode switch t to ON mode. The notion indicator LED will blink red for about 10 seconds .This interval allows time for you to close the Cam’s front cover,lock it, and leave the monitored area. The camera will take pictures or videos automatically.(According to its current slide switch settings) when it is triggered by the PIR sensor’s detection of activity in the area it covers.


