We specialize in hard to find items

All Categories


BAUMFEUER Tile Leveling System with Tile Plier and Rubber Mallet, 1000 Piece Tile Spacers Clips and 200 Piece Reusable Wedges, Tile Leveler Tool Set for Tile and Stone Installation (1/8 Inch)
Share Tweet
*Price and Stocks may change without prior notice
*Packaging of actual item may differ from photo shown
- Electrical items MAY be 110 volts.
- 7 Day Return Policy
- All products are genuine and original
- Cash On Delivery/Cash Upon Pickup Available


BAUMFEUER Tile Leveling System with Tile Plier and Features
-
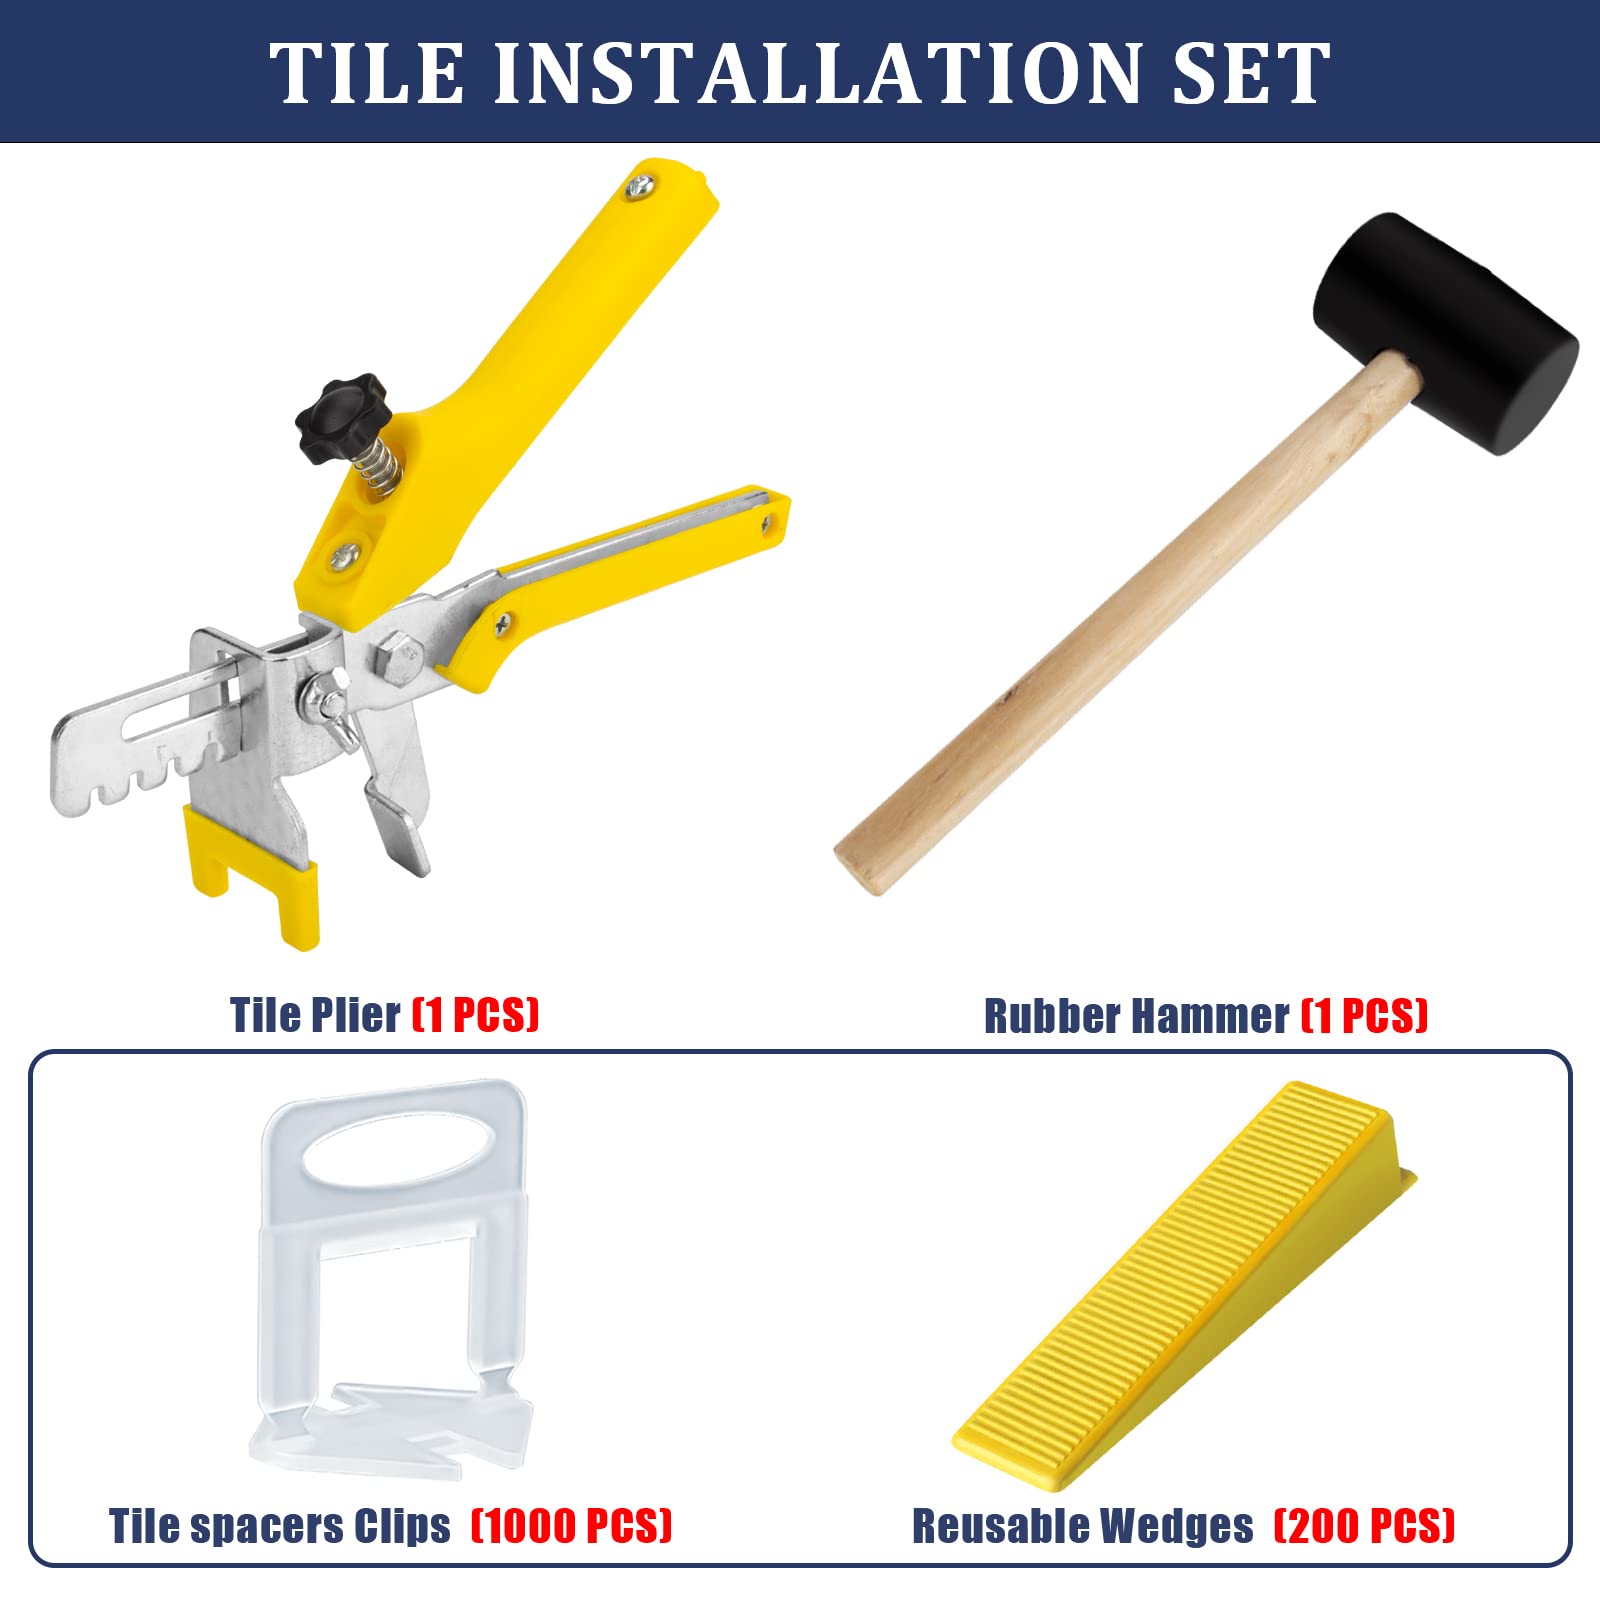
【Tile Leveling System Kit】It comes with 1000pcs tile spacers clips, 200pcs reusable tile wedges, 1 tile plier and 1 rubber mallet to meet all your needs. This system ensures flatness between tiles avoiding movements during the mortar setting. Easy to use & improve tile installation speed, it's a great tool for floor/wall setting for both DIY and professional tile layers.
-
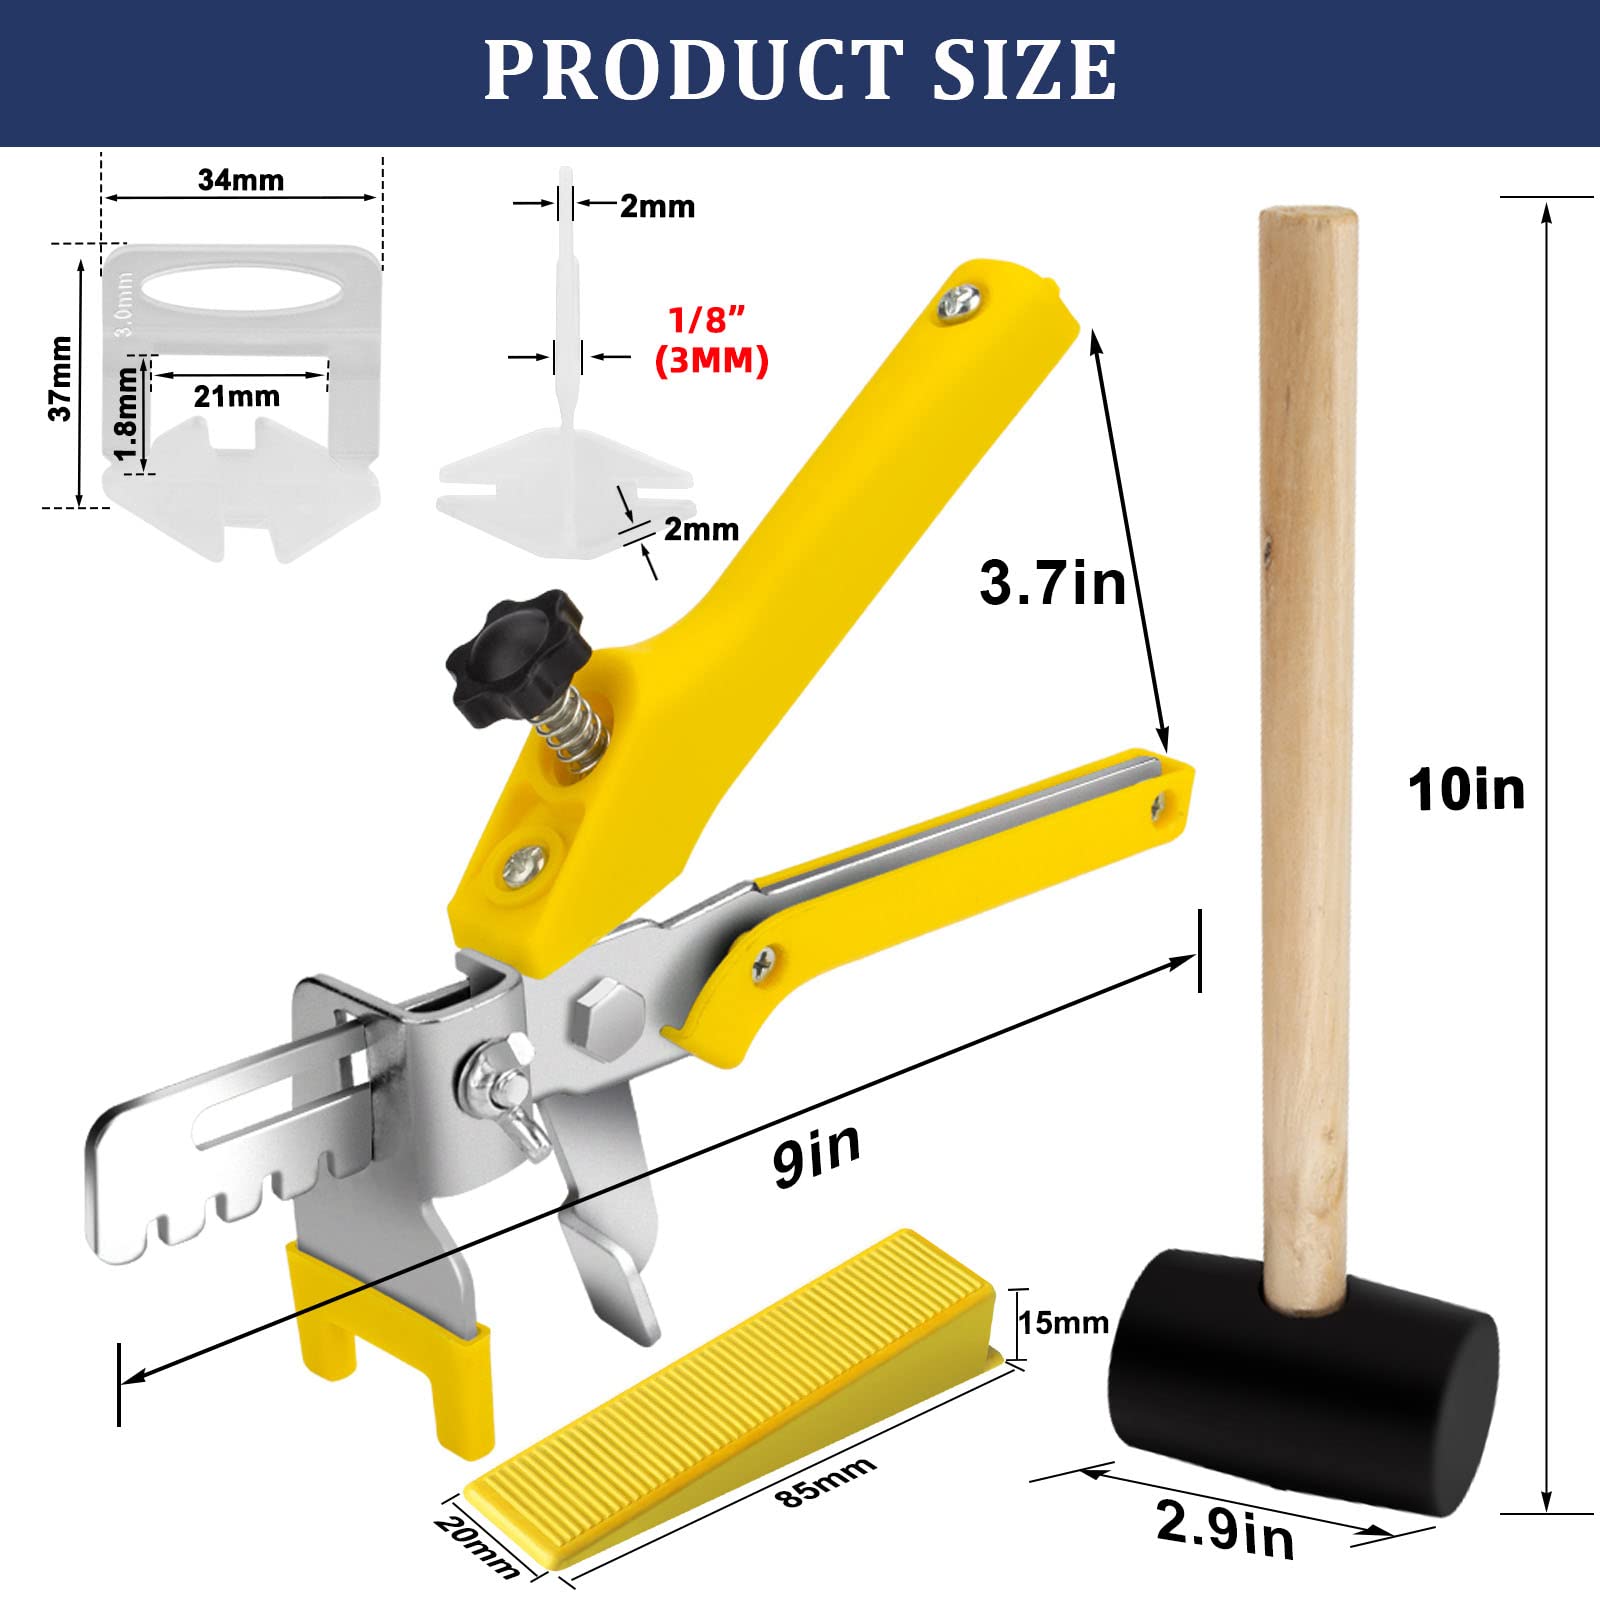
【1000Pcs Tile Clips】 Suitable for 1/8" (3mm) to 1/2"(12mm) thickness of the tile, allows for a 1/8"(3mm) grout joints (tile gap> 1/8"). Super easy & fast to install & remove.
-
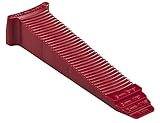
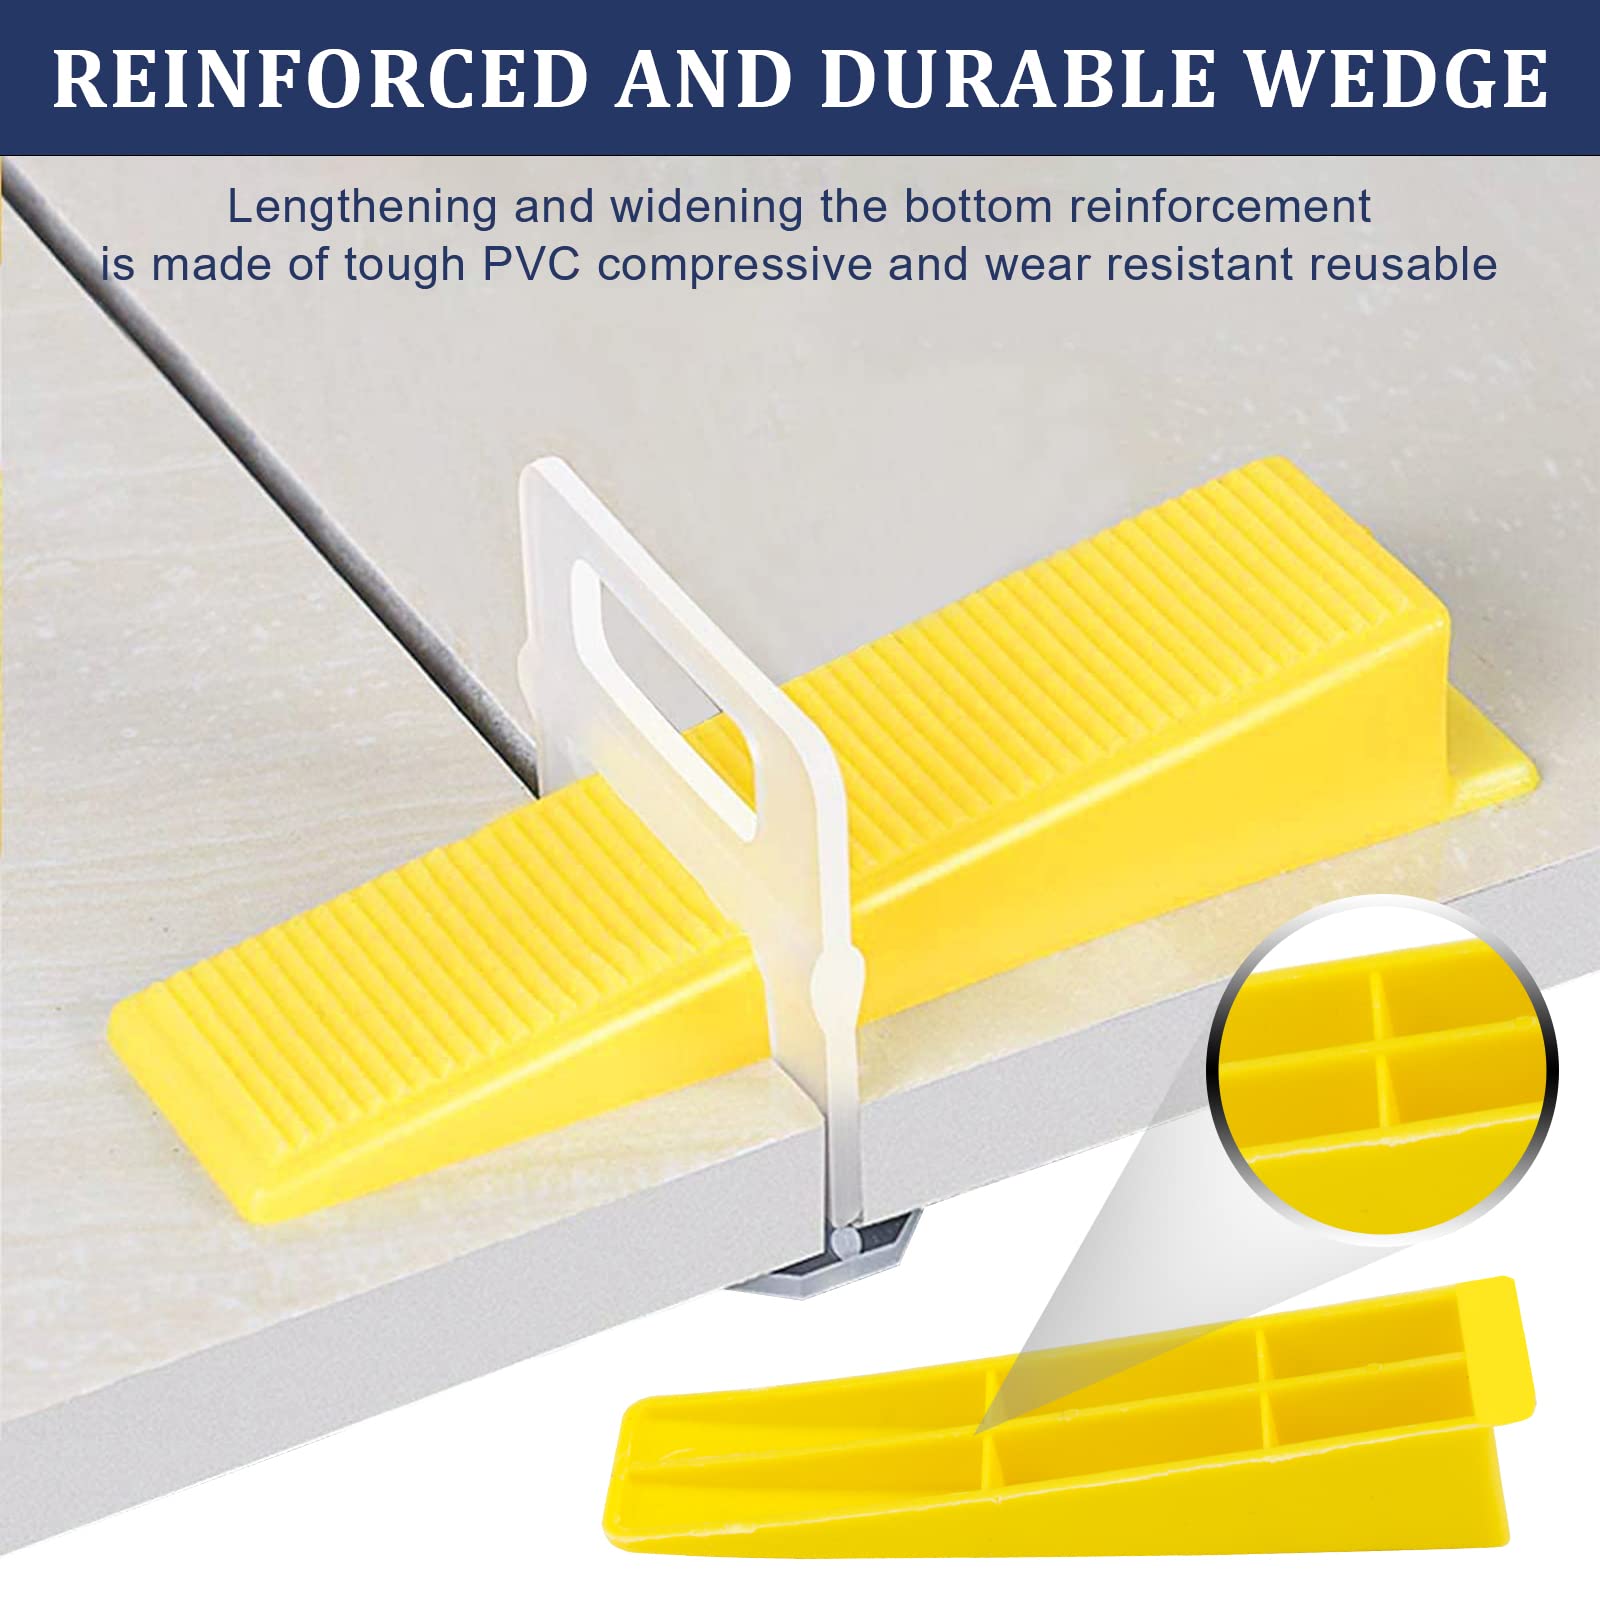
【200Pcs Tile Wedges】Can be used with tile spacer clips of various sizes(1/8”, 1/12”, 1/16”, 1/32”). It will firmly hold the tile in place and is very easy to install and disassemble. The tile wedges can be reused several times which is more economical. (1 tile requires 4 wedges and 4 spacers ).
-
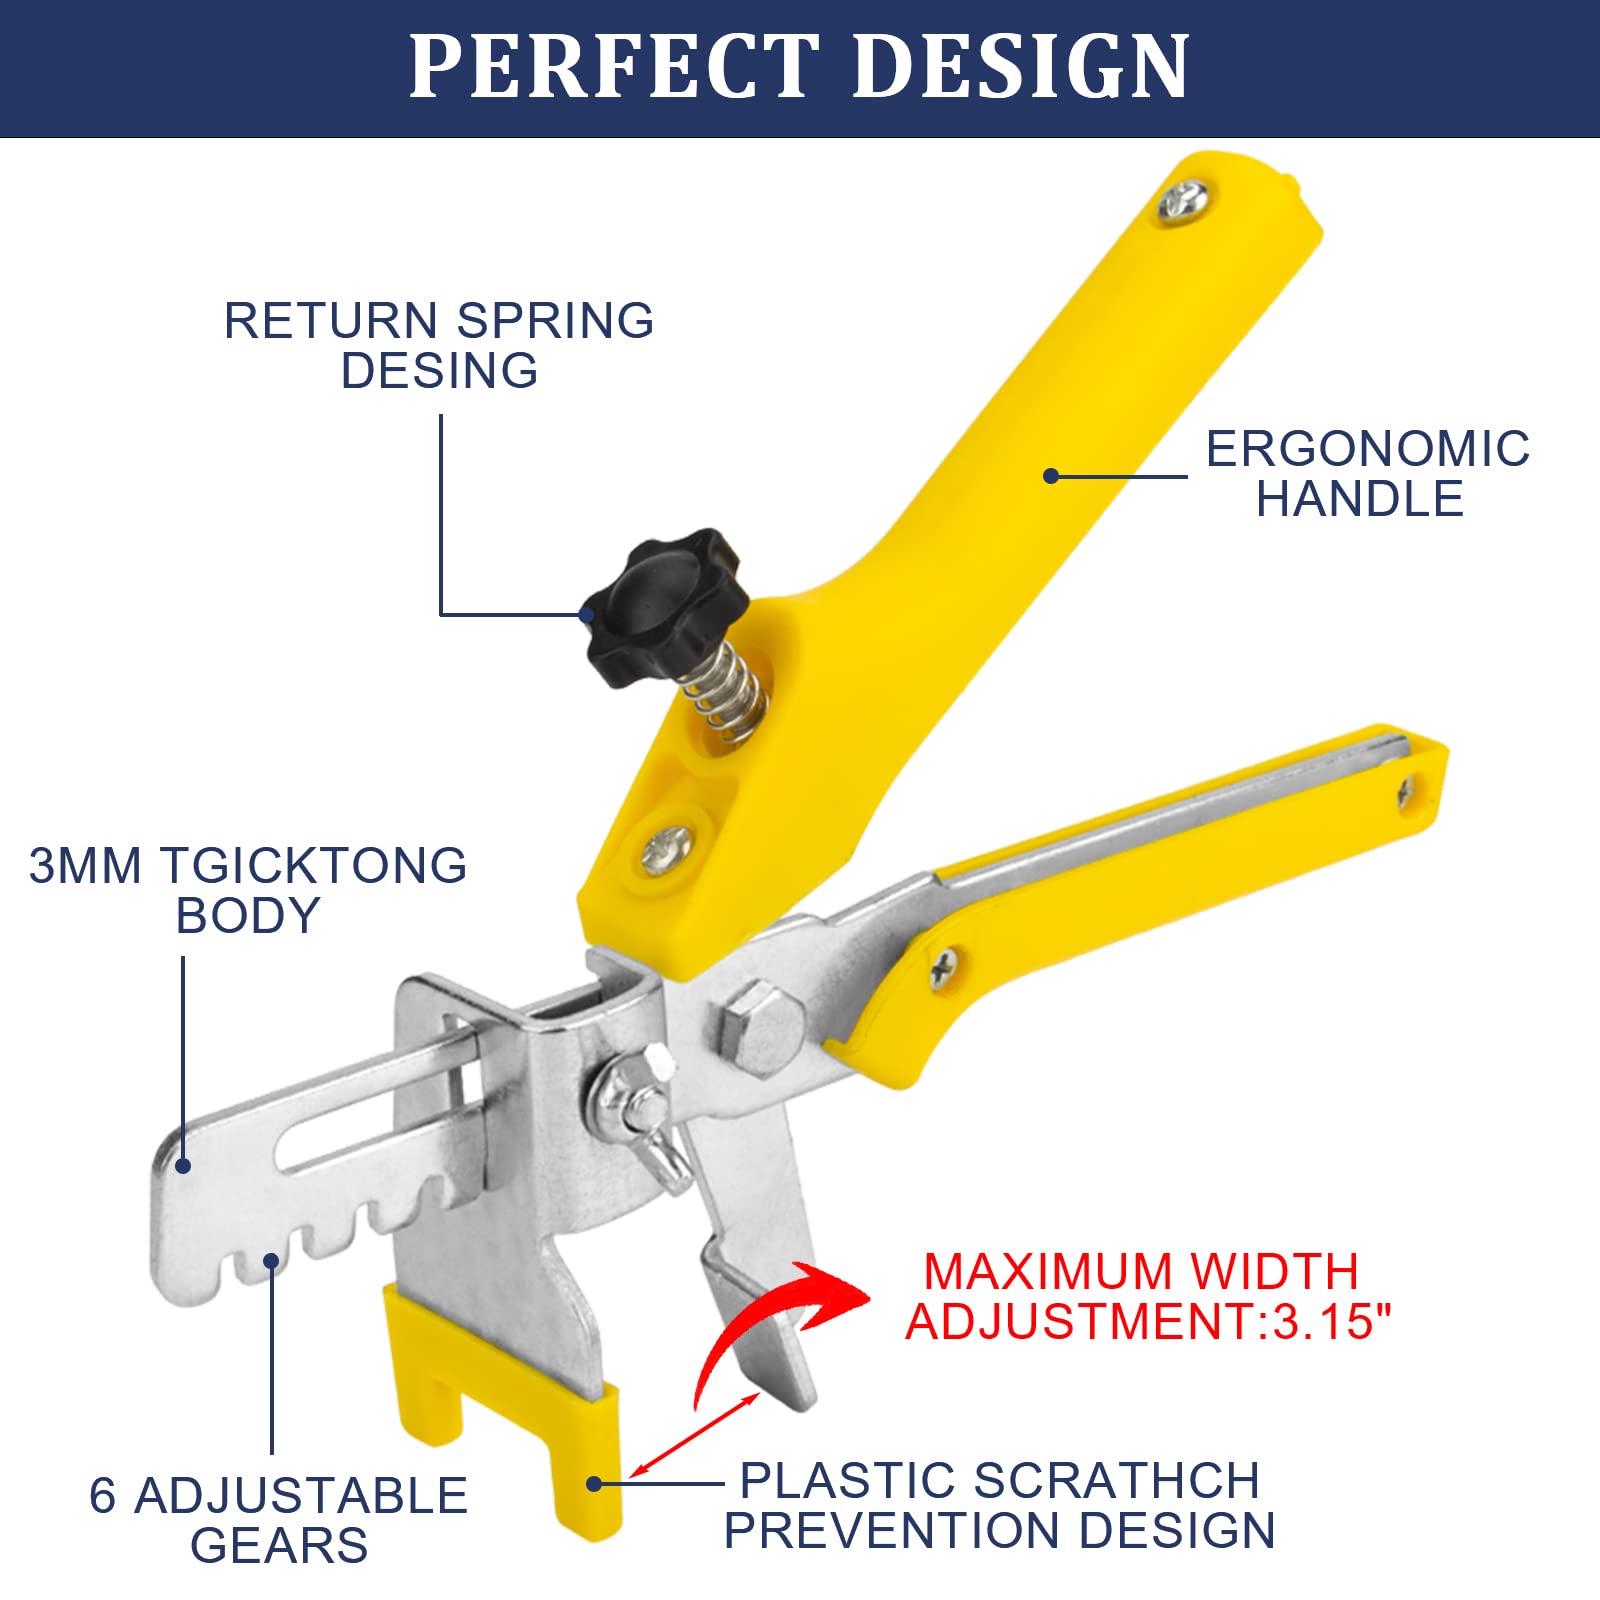
【Rubber Mallet】Crafted from premium quality rubber, exceedingly durable and reliable. The ergonomic handle delivers a non-slip and comfortable grip which also reduces hand fatigue. Ideal for a range of uses, including general building work, tile leveling, bricklaying, and mechanical work.
-
【Efficient and Save Effort】This tile leveling system is used to correctly set flexible, large format, heavy or low thickness tiles, helping you to increase the speed of tiling, quickly and easily tiling, saving time and effort. Very suitable for floor/wall tile installation, can be used for leveling all tile types, such as porcelain, ceramic, marble, and all-natural stone.
About BAUMFEUER Tile Leveling System With Tile Plier And
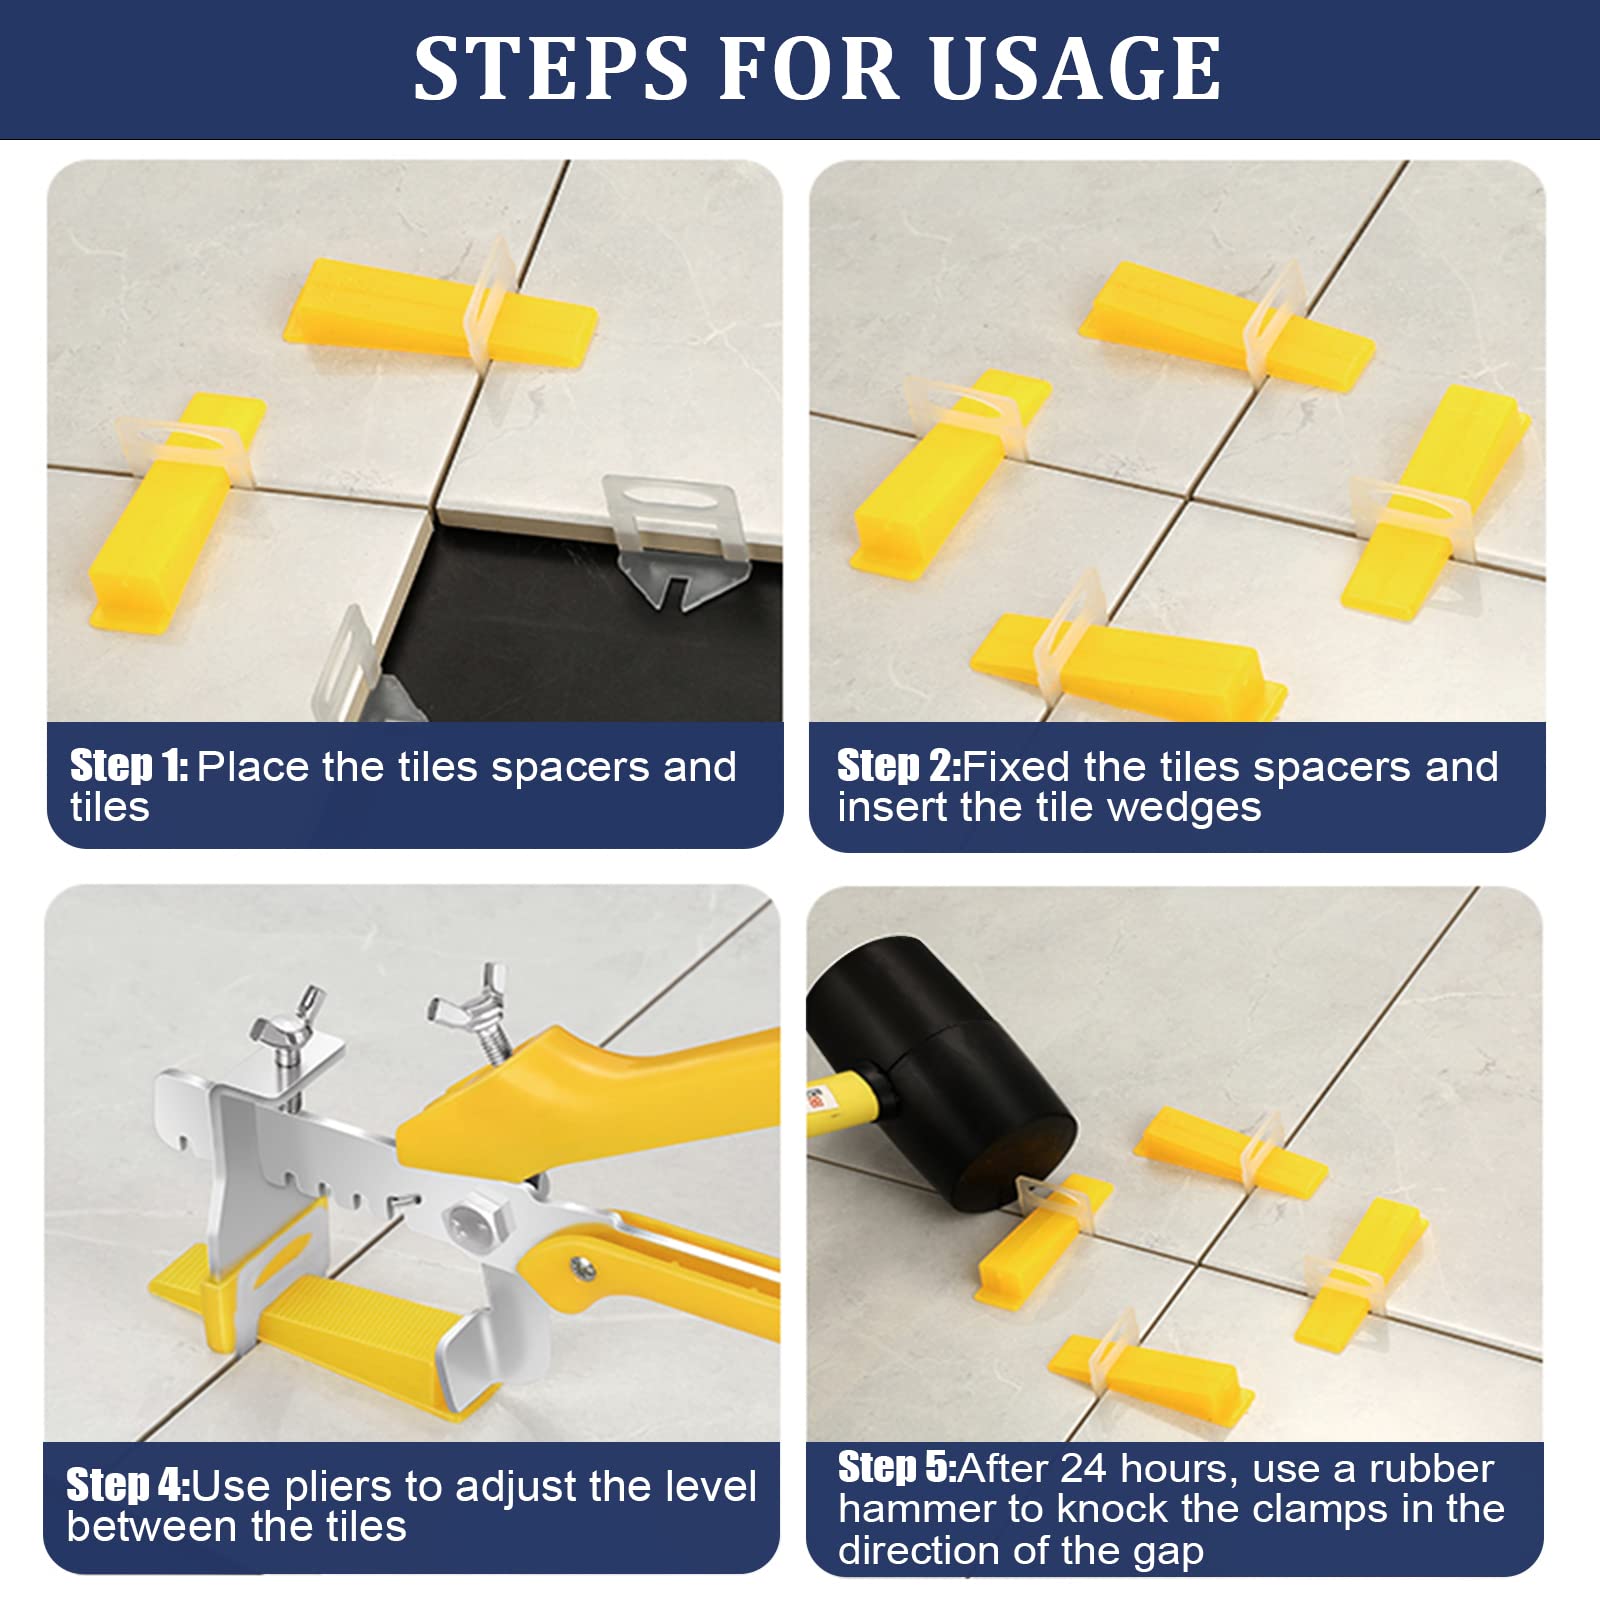
Package Includes: 1000pcs tile spacers clips 200pcs reusable tile wedges 1 tile plier 1 rubber mallet Installation Steps: STEP 1: After spreading your tile adhesive, insert leveling spacer underneath the tiles along the 4 sides, use traditional spacers as you normally would to square up the corners. For larger tiles, it may be necessary to "double-up", using 2 leveling spacers for each side; STEP 2: Set the tile and beat it with a rubber mallet; STEP 3: Use the special traction-adjustable pliers to insert the wedge into the leveling spacers, paying attention not to pass the breakpoint; STEP 4: Once the tile adhesive has been allowed to set. Remove the leveling spacers with the traction-adjustable pliers, or rubber mallet, or kick them out with your feet.