We specialize in hard to find items

All Categories


ESP8266 Weather Station and Weather Instrument Kit,NodeMCU ESP8266 Integrated 0.96'' OLED Board DHT-11 Temperature Humidity BMP-180 Atmospheric Pressure BH1750 Light Sensor for Arduino IoT Starter
Share Tweet
*Price and Stocks may change without prior notice
*Packaging of actual item may differ from photo shown
- Electrical items MAY be 110 volts.
- 7 Day Return Policy
- All products are genuine and original
- Cash On Delivery/Cash Upon Pickup Available


ESP8266 Weather Station and Weather Instrument Features
-
In this Latest IoT project,You will make an IoT Based Online Weather Station and Weather Instrument using NodeMCU board
-
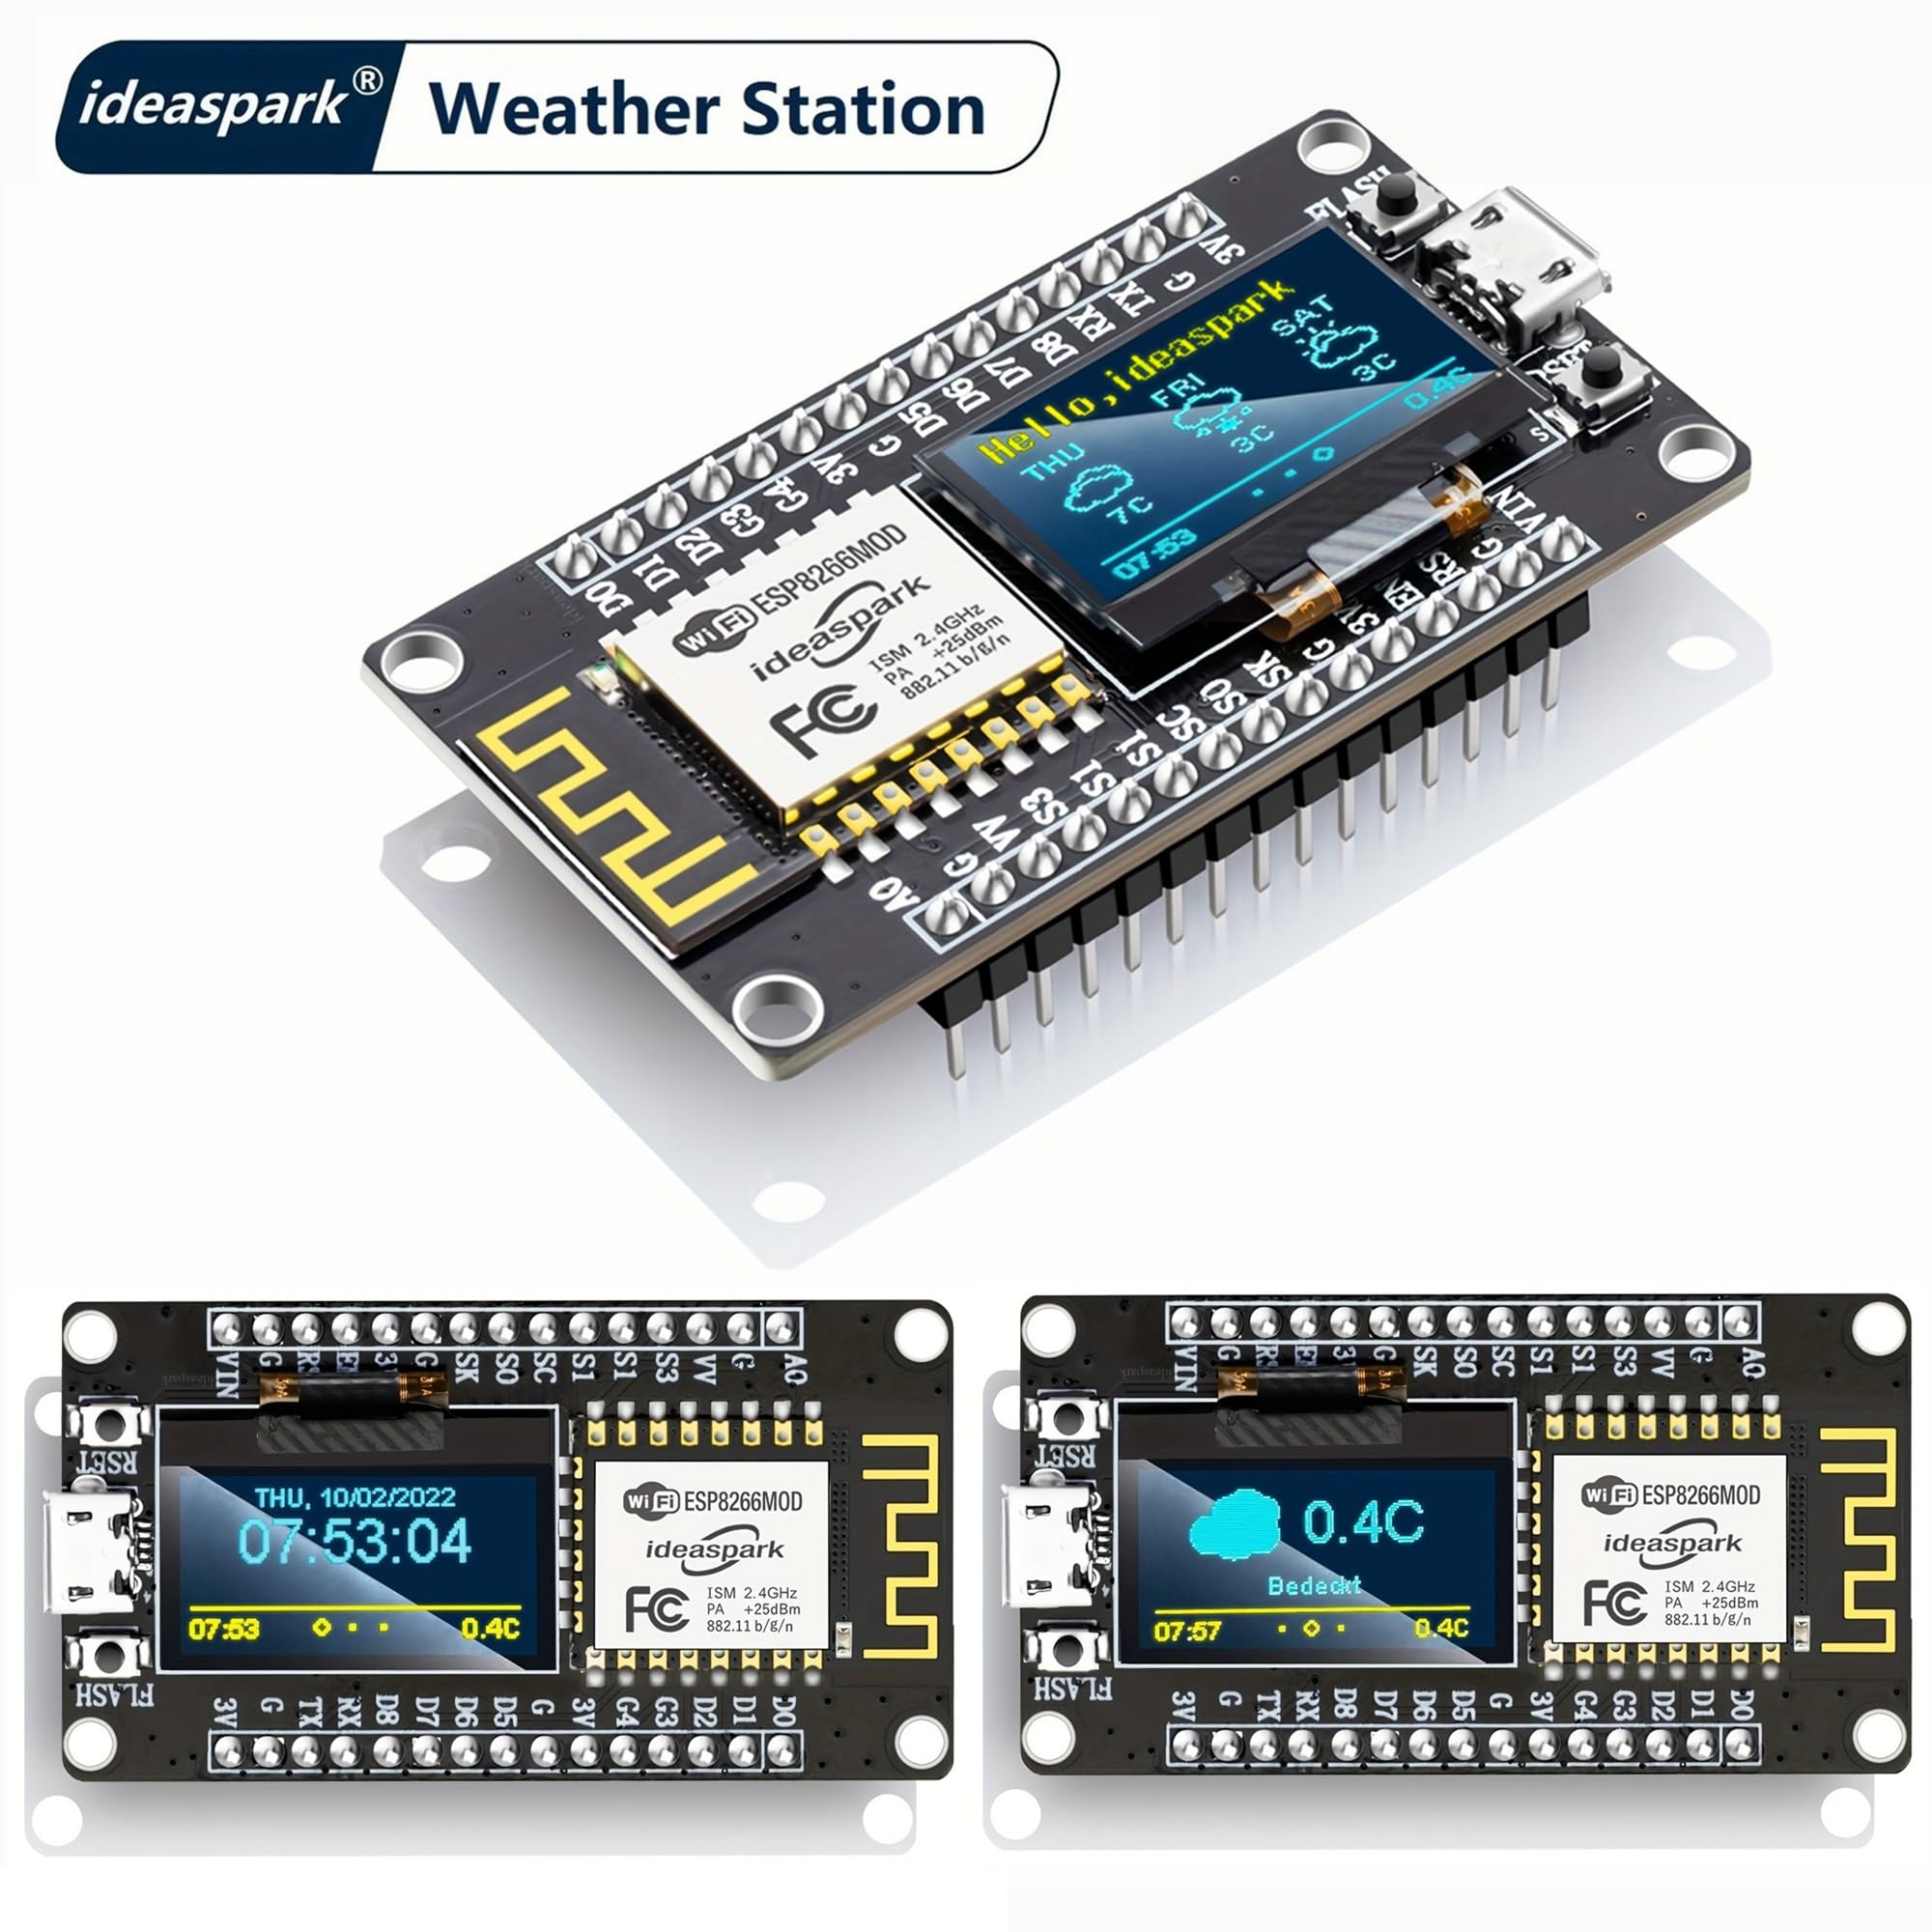
Locate your city in the source code,The NodeMCU pulls city's weather forecast data like temperature, humidity, pressure, wind speed,wind directional degree and more from weather website called openweathermap.org and display it on 0.96 inch screen
-
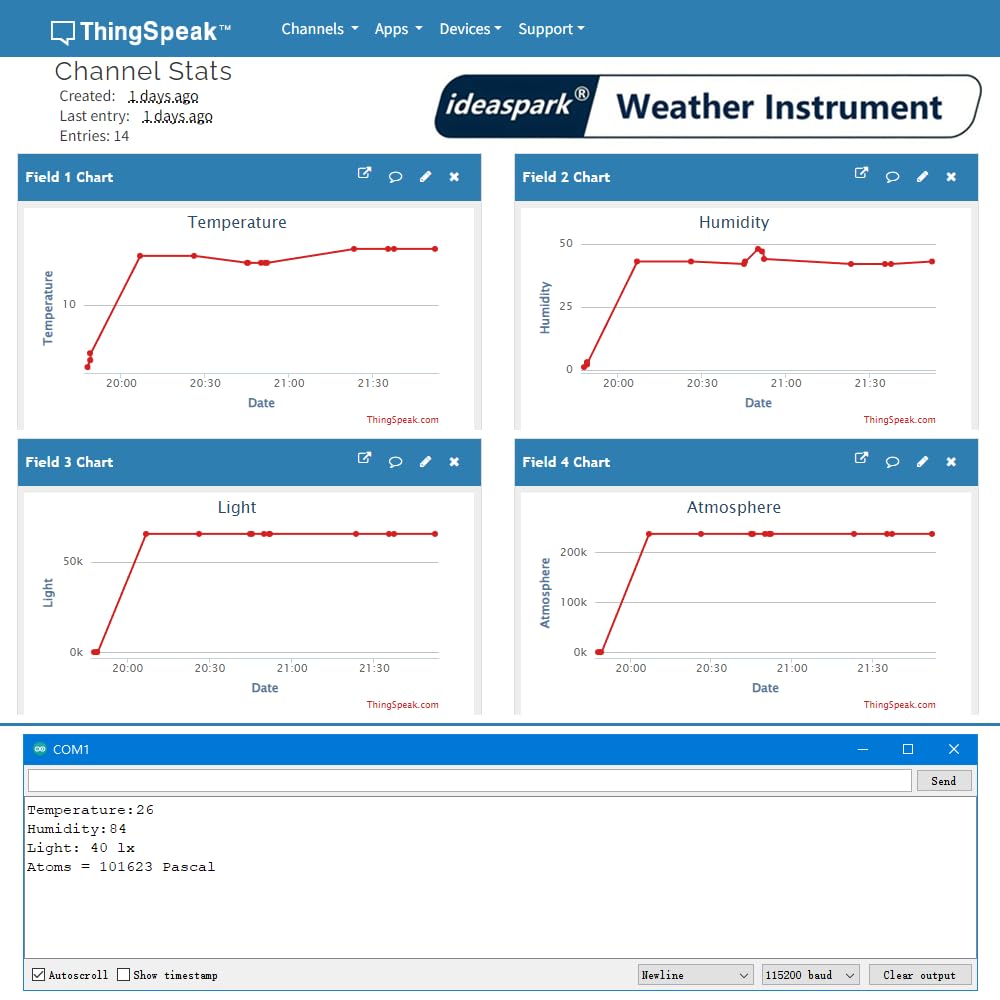
The ESP8266 0.96'' OLED Board reads data from DHT-11 (temperature and humidity), BMP-180 (barometric pressure), and BH1750 (light intensity) sensors,then uploads data to ThingSpeak, allowing real-time monitoring and analysis of environmental conditions. This feature is ideal for home automation, weather Instruments, and energy-efficient control systems etc
-
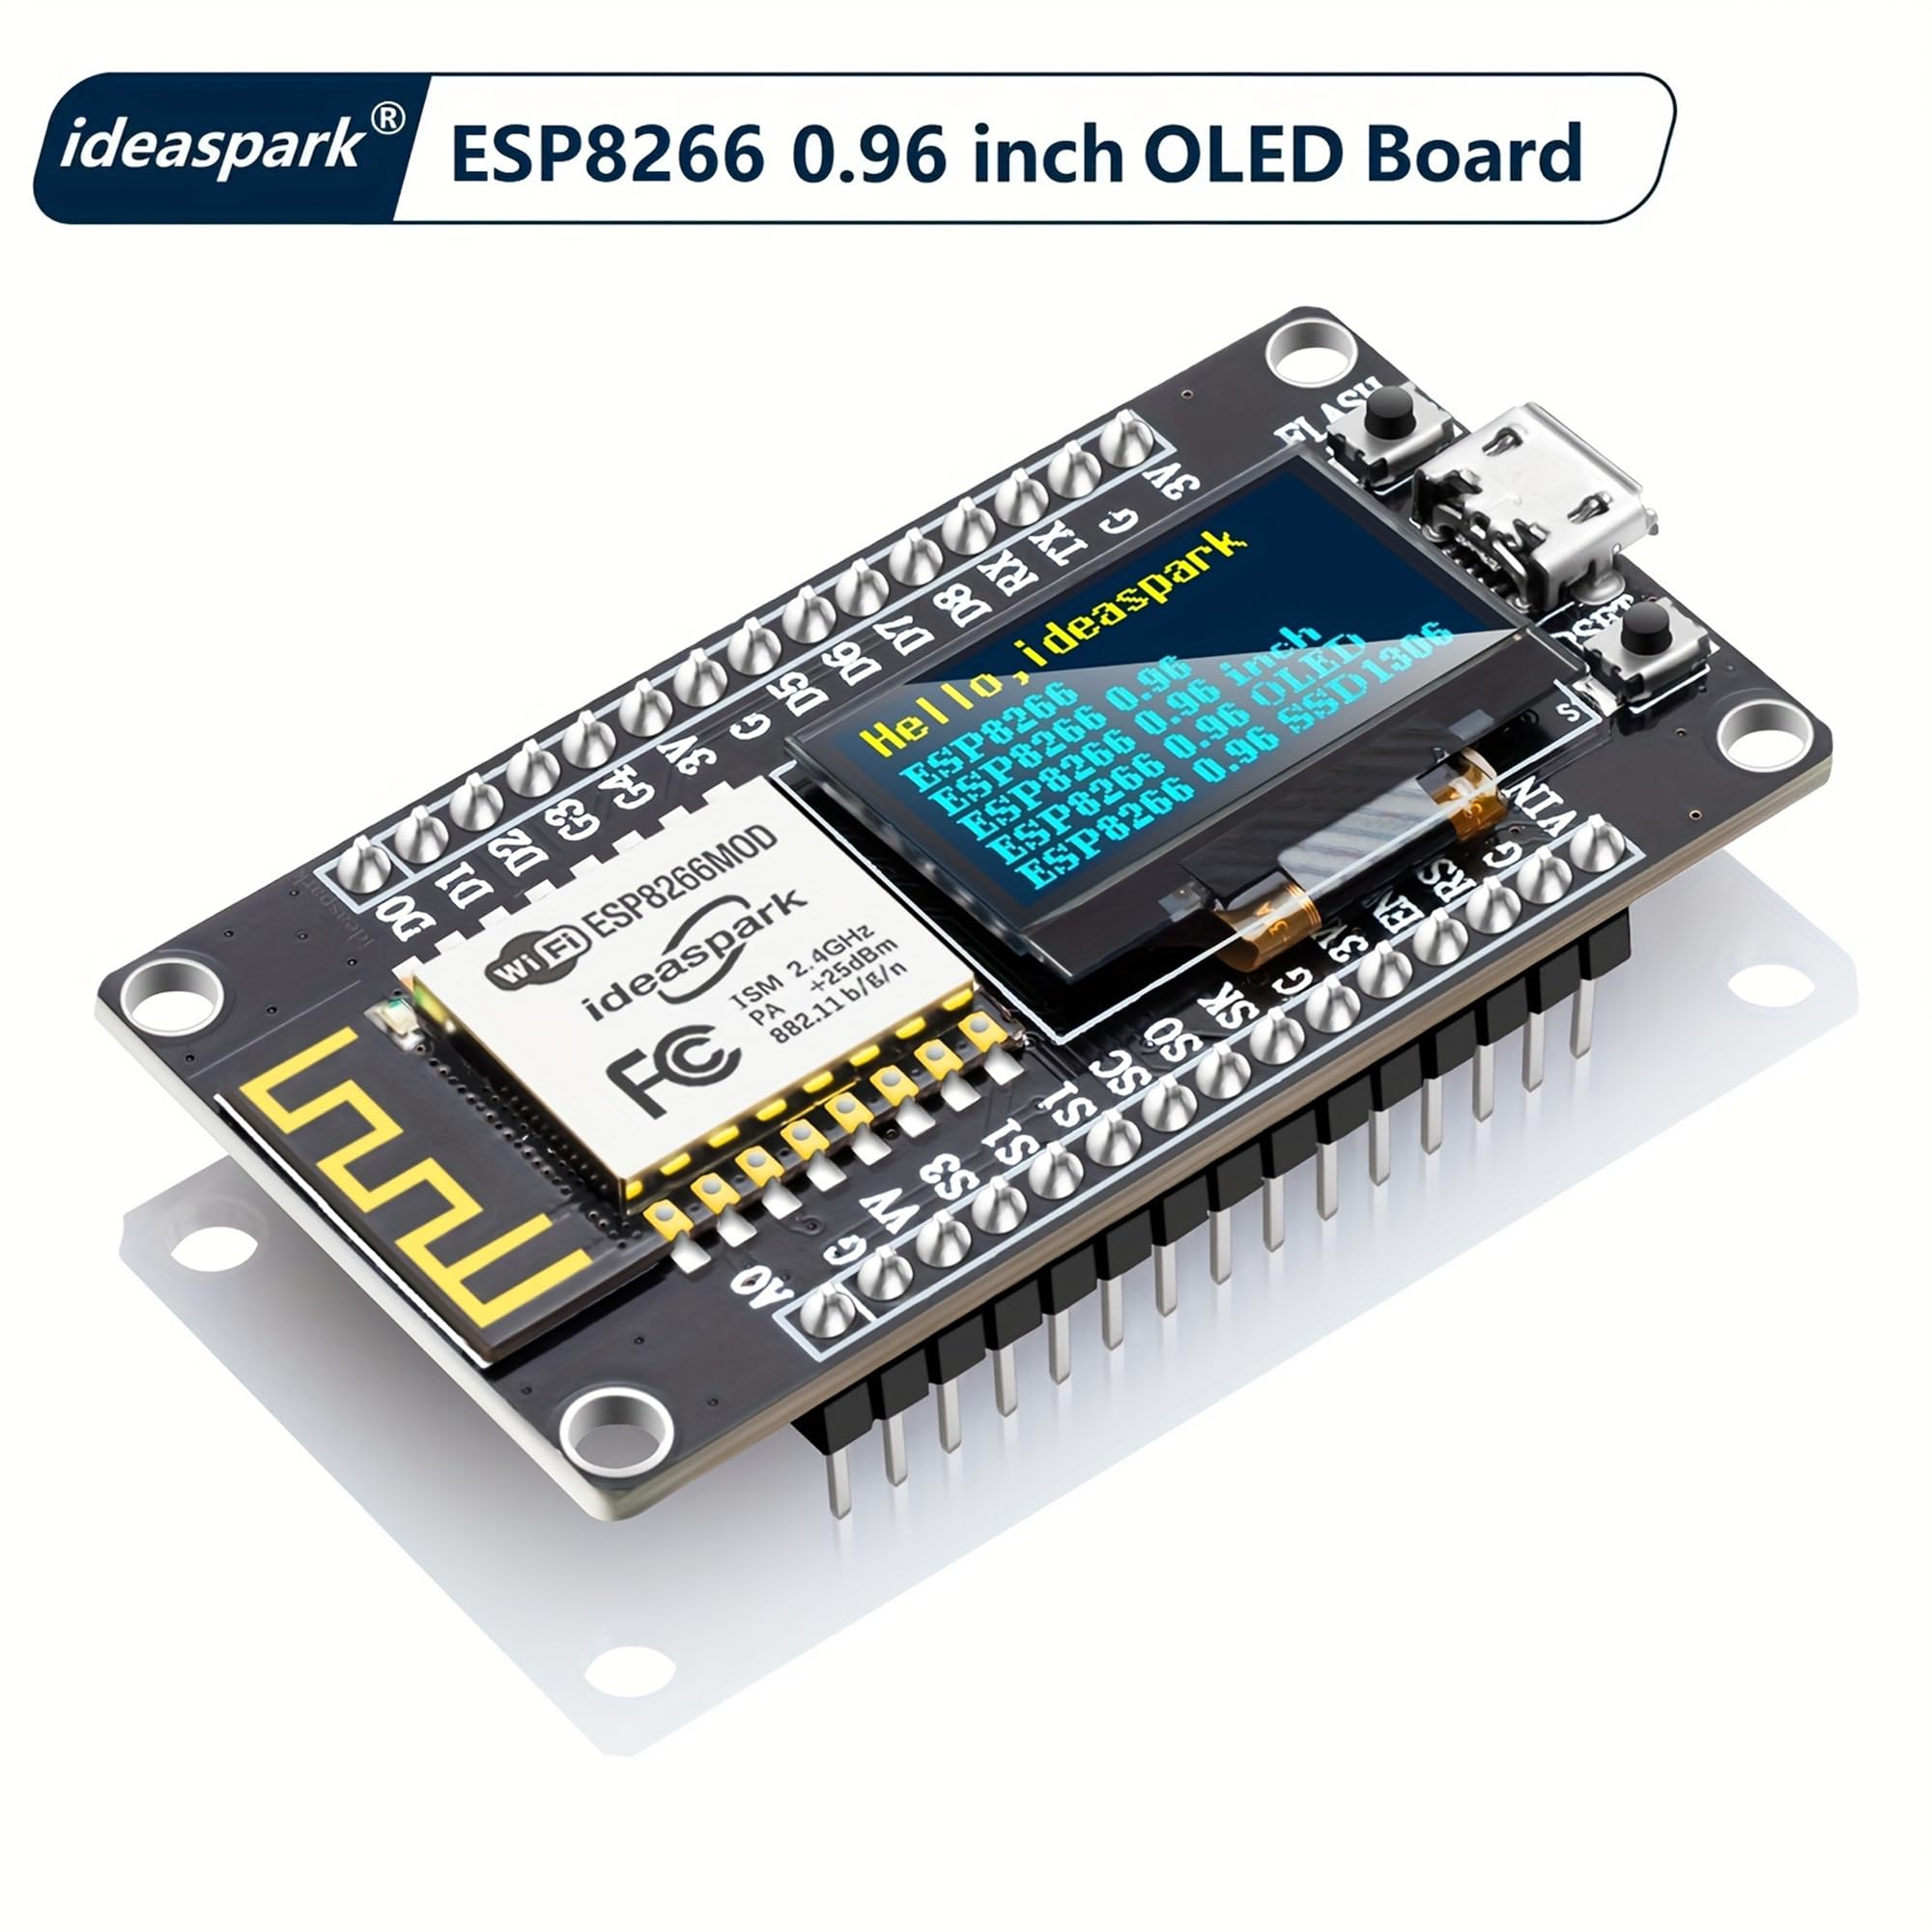
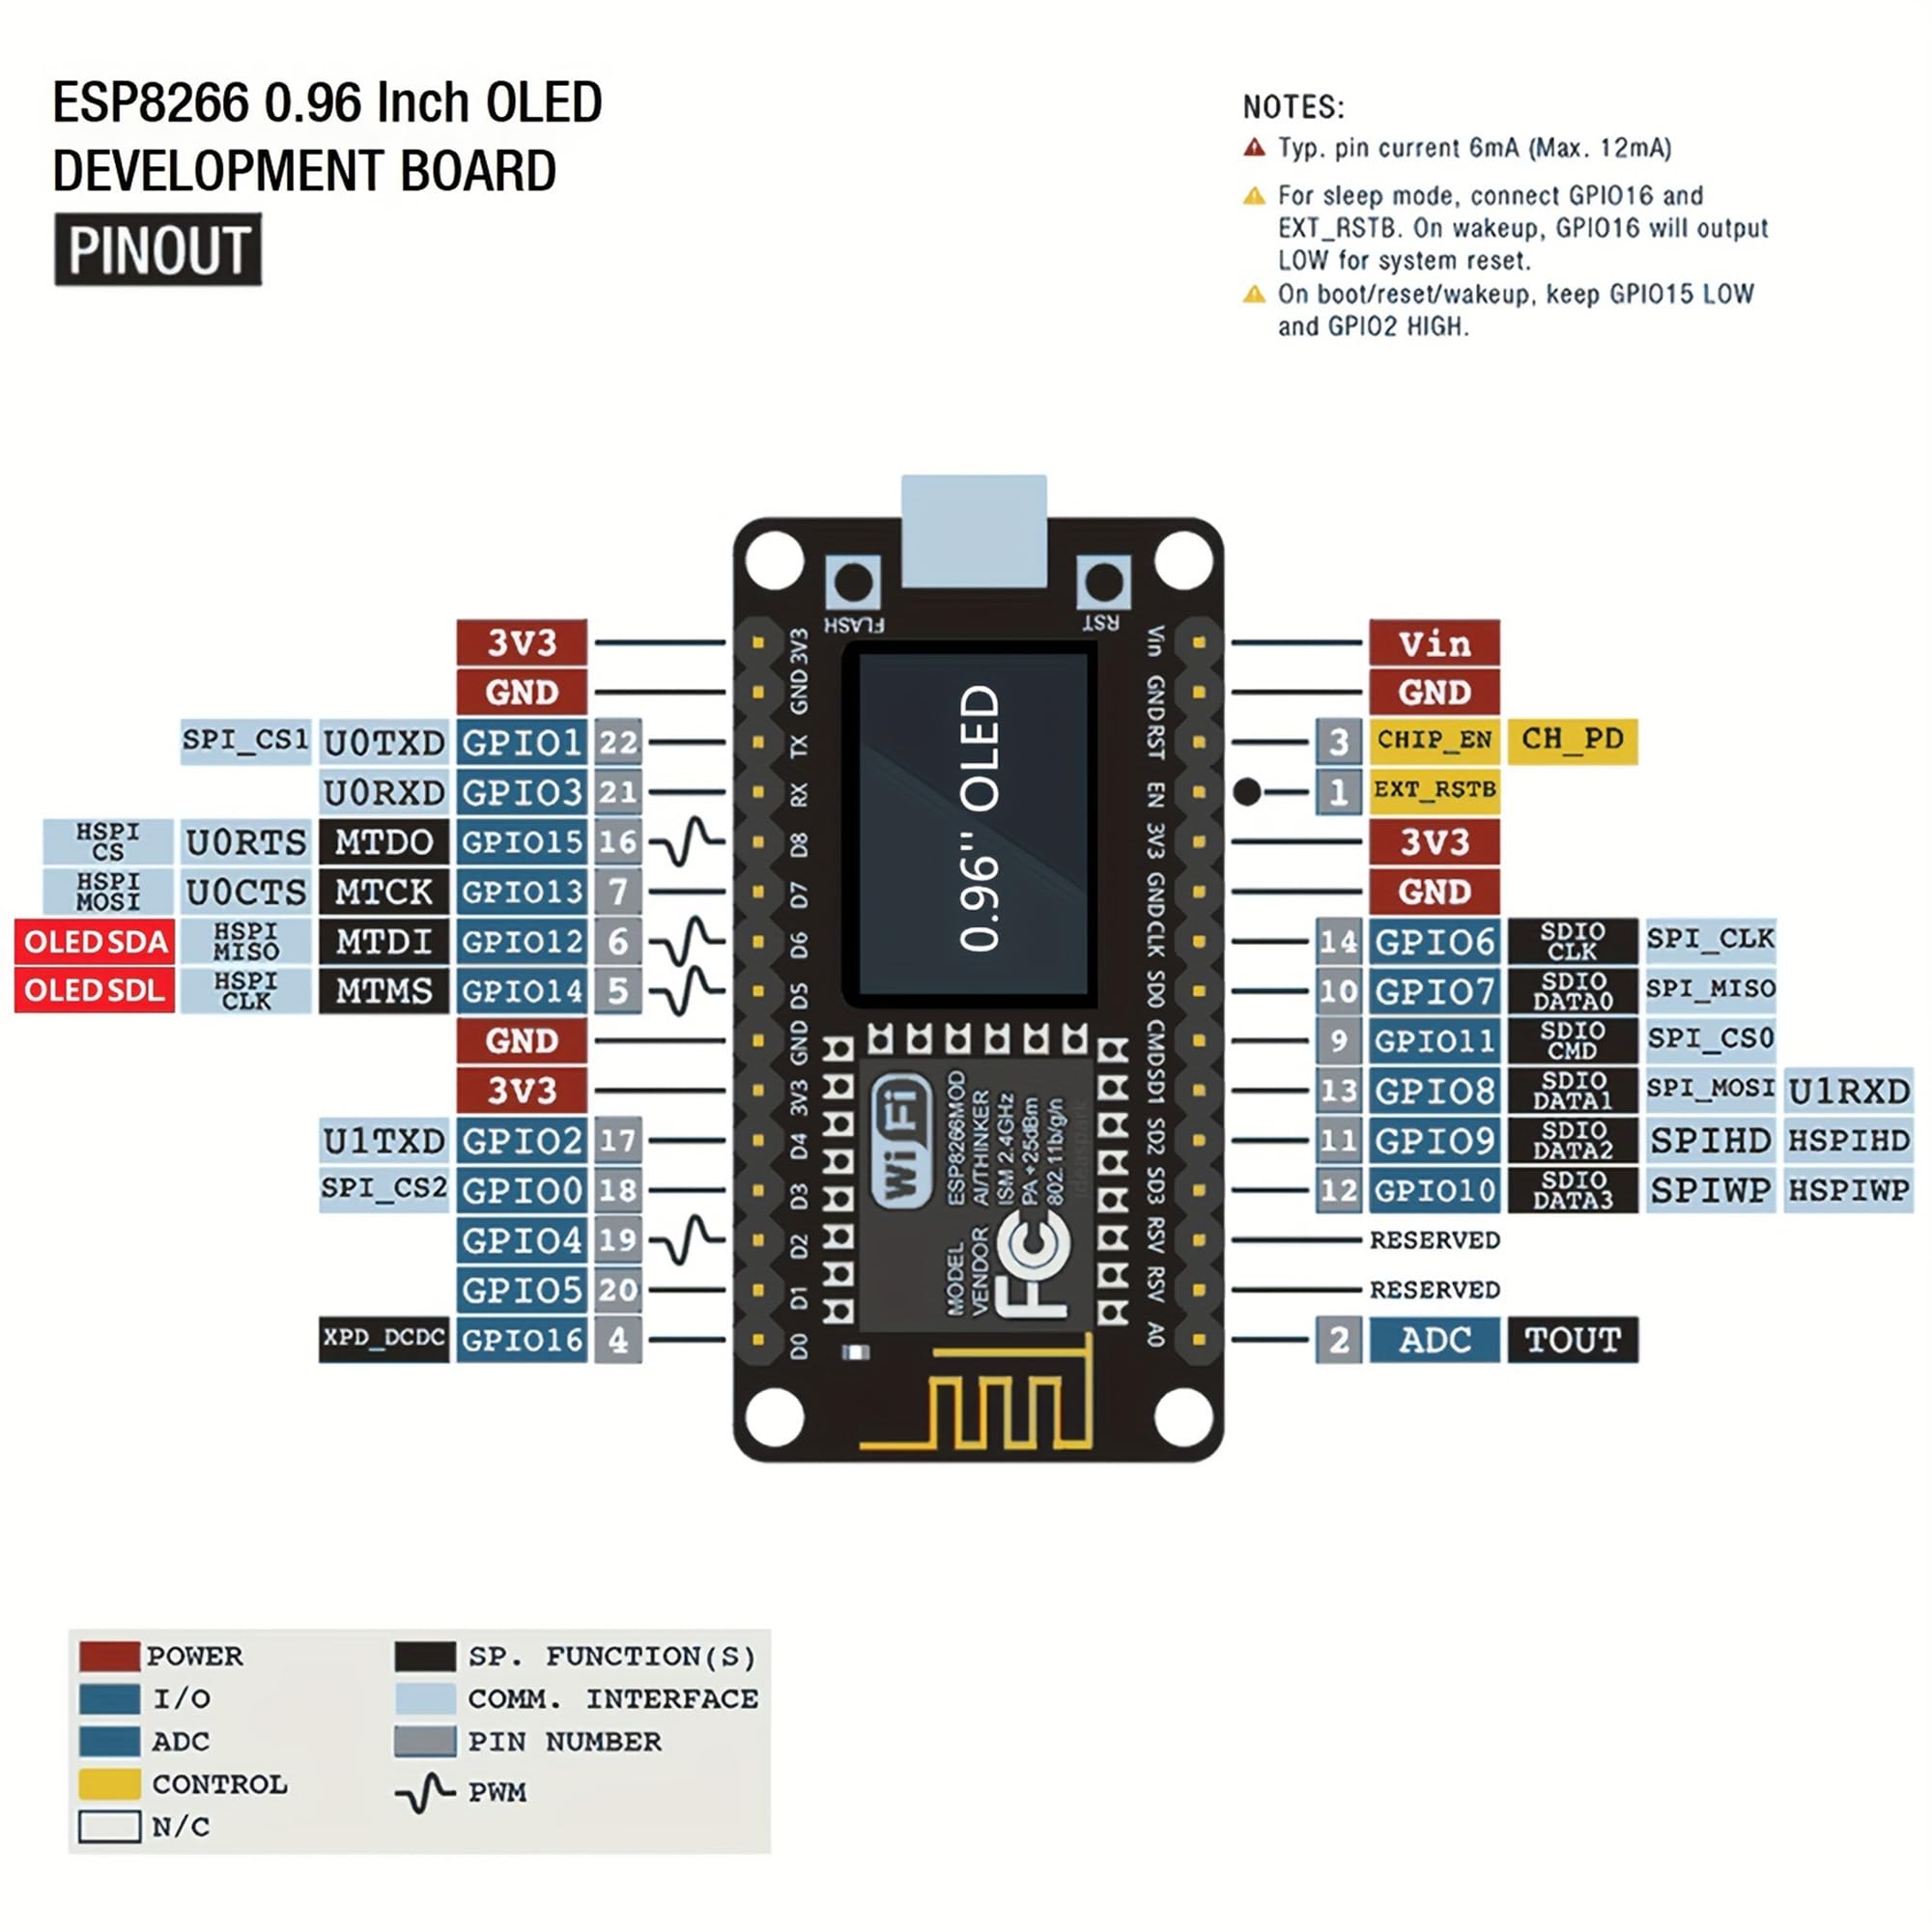
The ESP8266 0.96'' OLED has all features of traditional ESP8266 module,with same exact size and peripheral ports,offers seamless integration with a 0.96-inch OLED display, eliminating the need for frustrating wires and breadboards.Display features a high-resolution 128x64 with SSD1306 driver and is compatible with I2C,SPI interfaces. Plus,It uses Micro usb cable to connect. Say goodbye to messy setups and hello to hassle-free electronics with it
-
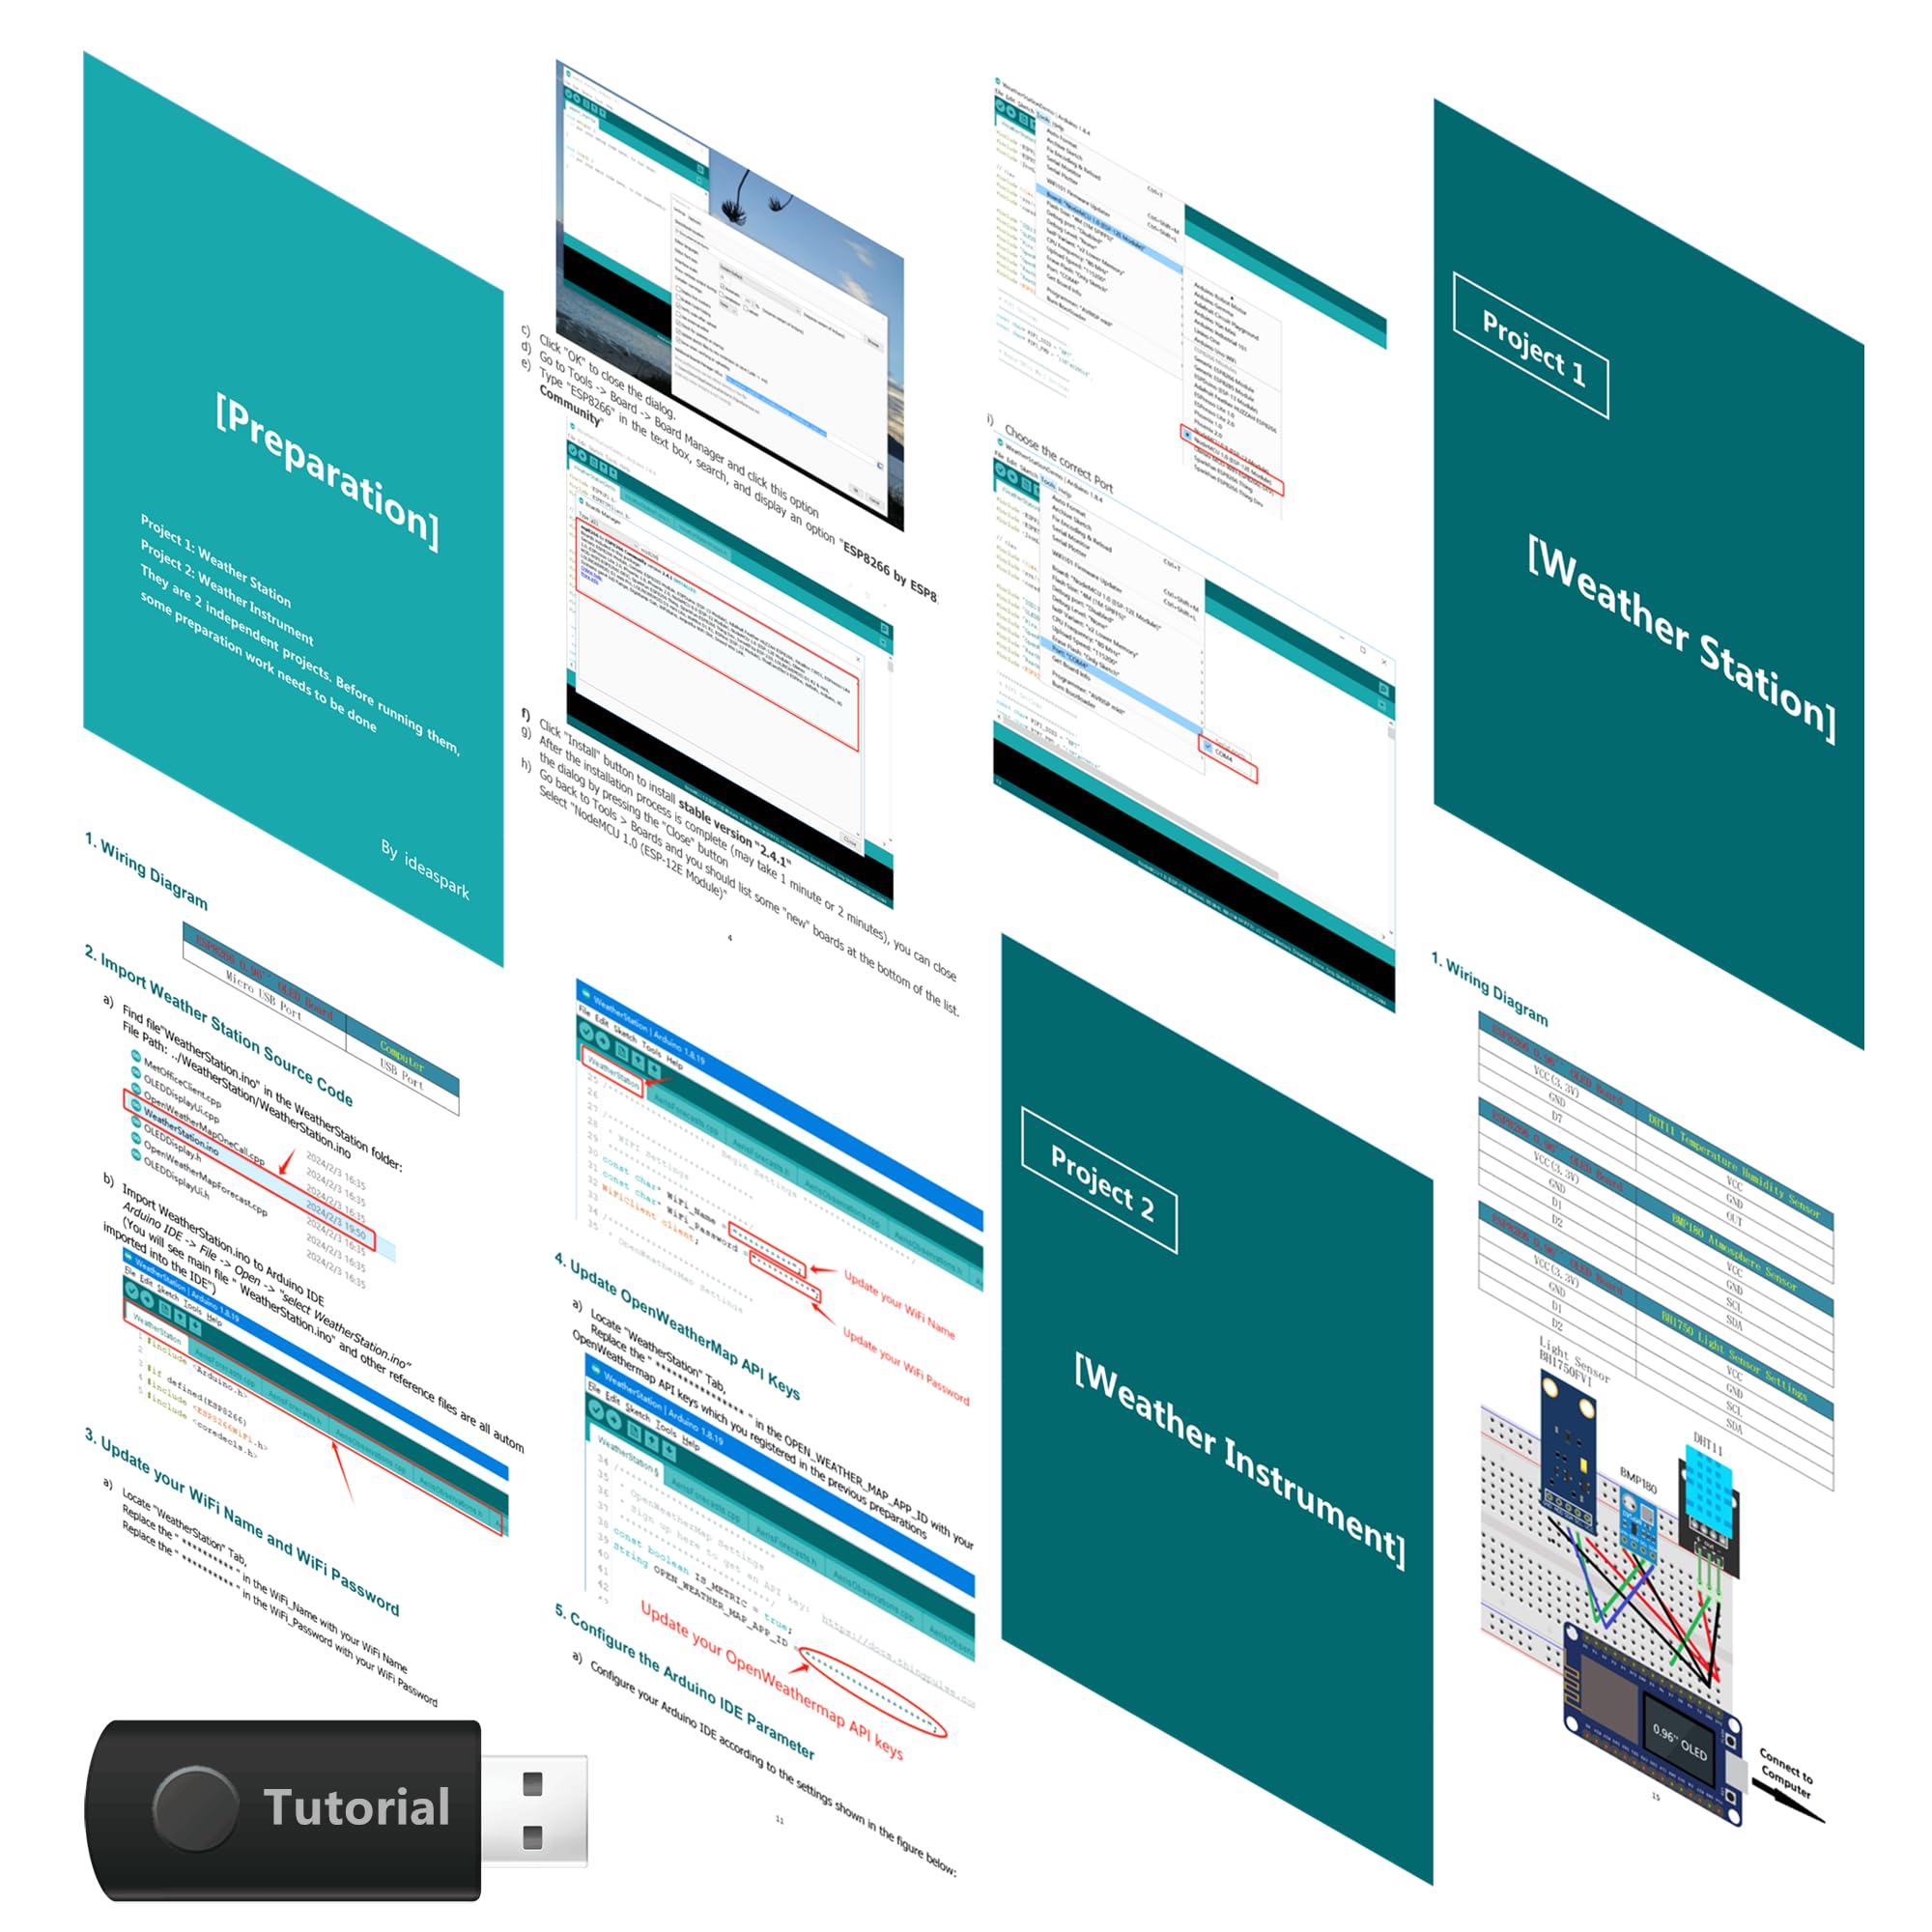
This project is a wonderful project for IoT beginners who want to learn about retrieving data from an Online Internet server to NodeMCU board,get and upload local environment data to Internet server.Tutorials are very clear and easy to follow. Each step is described in detail with text and pictures
About ESP8266 Weather Station And Weather Instrument
Important Notice: ⭐Kits designed only for Windows OS ⭐The 50M Guidance Document:Guidance Manual,Demo Code,Burning Tools,and Necessary Class Libraries.Download link label is pasted at the bottom of the packaging box.Or contact us on Amazon,we will send link on: ET: 21:00 PM - 5:30 AM(Second Day) PST: 18:00 PM - 2:30 AM(Second Day) Result: 1) Get weather data from OpenWeathermap at regular intervals, showing the weather of today and weather forecast for next 3 days in any city in the world 2) Read the current temperature, humidity data indoor at regular intervals 3) Regular reading of atmospheric pressure, light intensity data 4) Upload temperature,humidity,atmospheric pressure and intensity of illumination data to thingspeak.com at regular intervals 5) View weather forecast on OLED display and view environmental monitoring chart on thingspeak.com Guidance Manual Catalog: Overview:This manual describes how to make a miniature weather station by Arduino IDE Step 1: Install USB-To-Serial Step 2: Install Arduino IDE for ESP8266 Step 3: Burning Firmware to ESP8266 Step 4: Connecting Components Step 5: Register OpenWeathermap, thingspeak new account Step 6: Import WeatherStation code in the Arduino IDE Step 7: Add Library Step 8: Modify File WeatherStation.ino Step 9: Set the Board and Port again Step 10: Burn code to ESP8266 Step 11: Result AT-Firmware in Guidance Document: Ai-Thinker_ESP8266_DOUT_8Mbit_v1.5.4.1-a_20171130.bin Library attachment in Guidance Document: esp8266-weather-station-master.zip(WeatherStation Source Code) esp8266-oled-1306-master.zip json-streaming-parser-master.zip Tools in Guidance Document: ESP8266Flasher.exe usb-to-serial.rar Package List: 1xESP8266-12E 1xDHT11 1xBMP180 1xBH1750FVI 1xOLED Display 1xusb cable 2xbreadboard 20xdupont cable