We specialize in hard to find items

All Categories


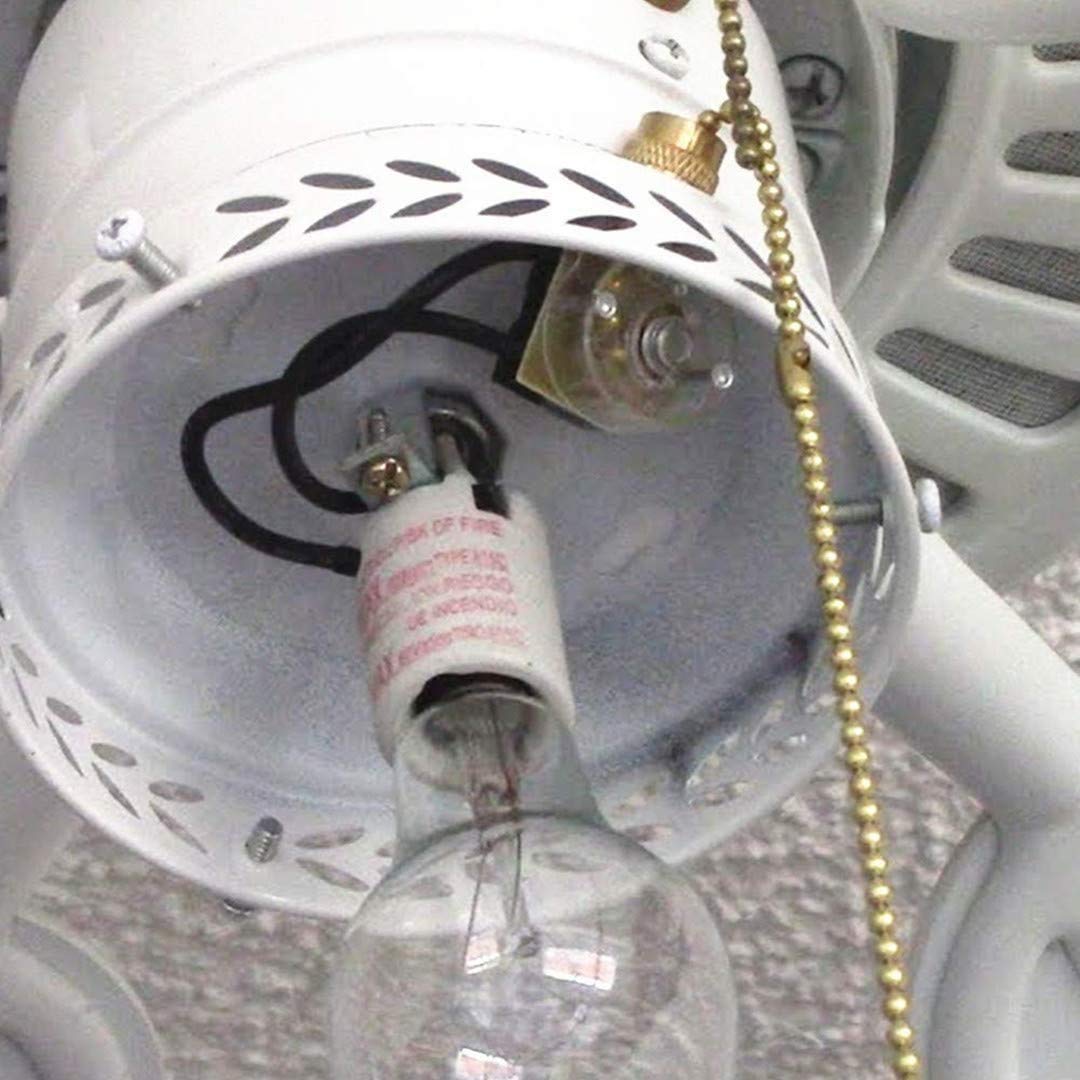
Ceiling Fan Light Switch Zing Ear Pull Chain Switch ZE-109 Fan Light Switch, On-Off Speed with Pull Chain Compatible with Ceiling Light Fans, Lamps and Wall Lights.(Gold)
Share Tweet
of brand new stock?
or
Need this item ASAP?
Check if this is available on Amazon
or available in other sites
Send us the link so we can buy for you


Ceiling Fan Light Switch Zing Ear Pull Chain Switch Features
-
Perfect for home applications,Allows you to add an on-off switch for fan lights and appliances.
-
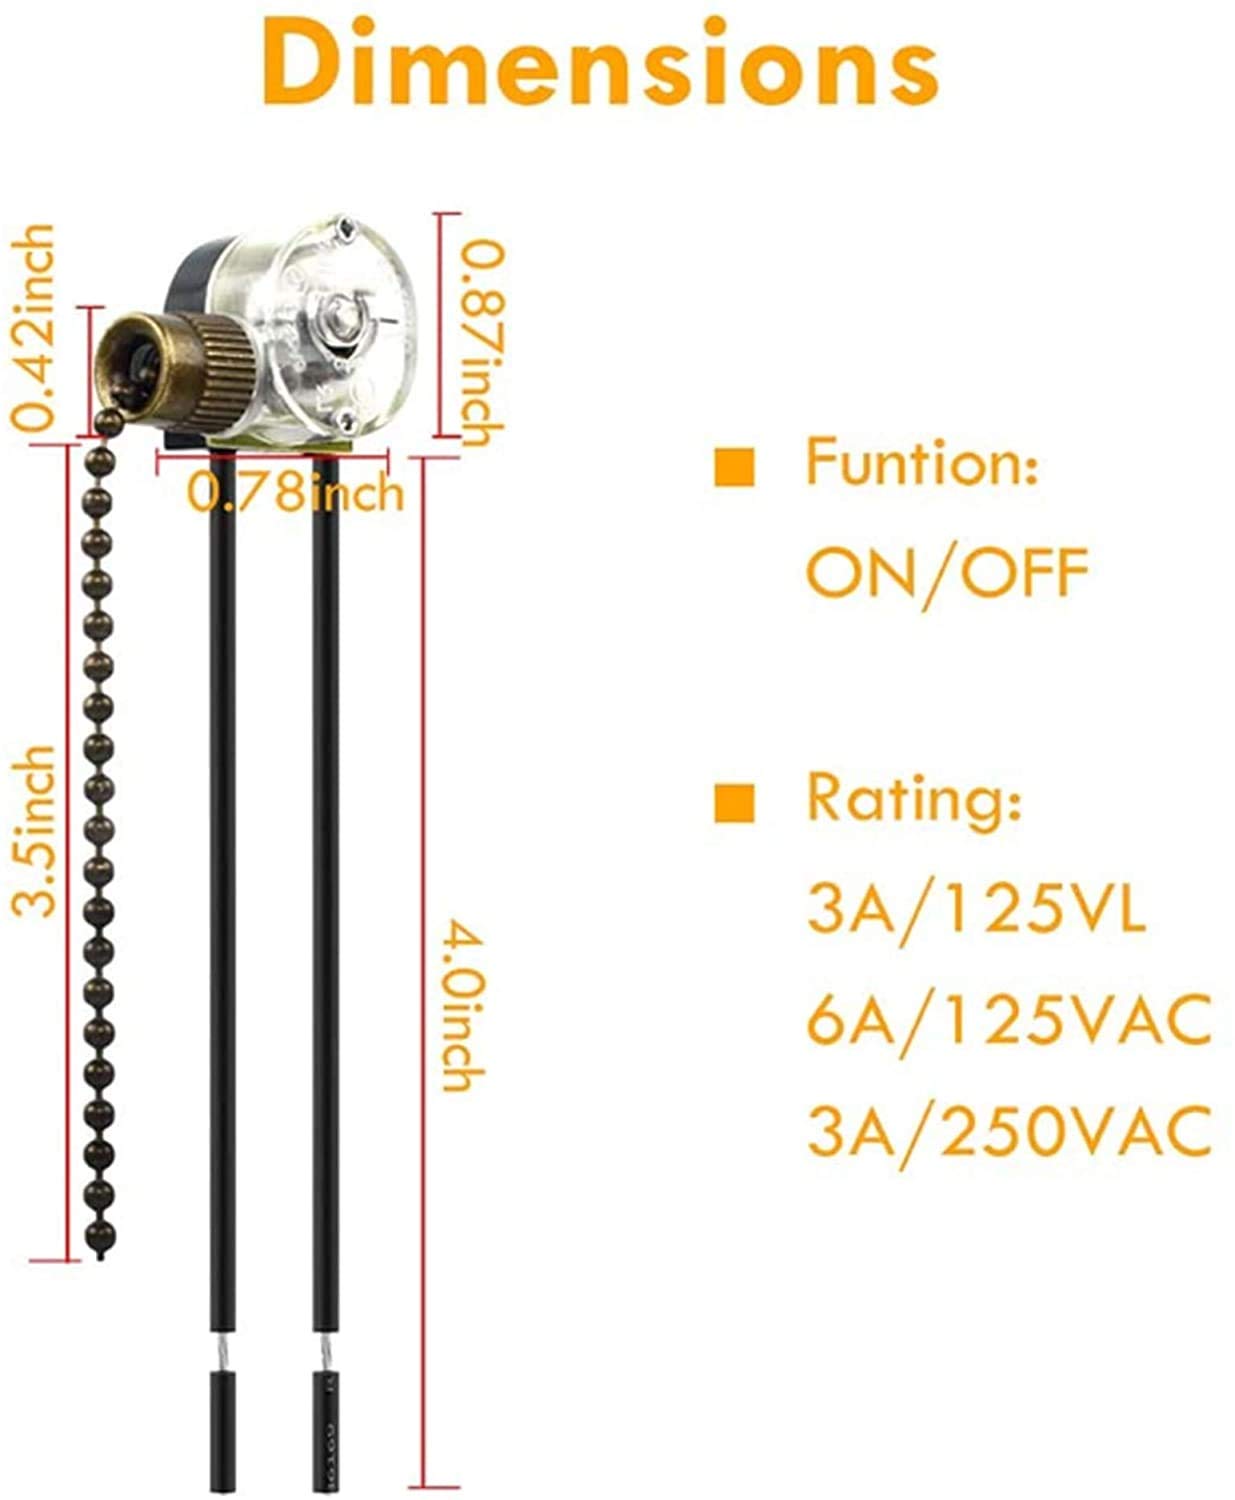
Two-wire switch,Compatible with most ceiling fans.Terminal Type: 6 inch wire leads, 18# AWG Wire.
-
Specifications: 3 A / 125 VL, 6 A/125 V AC, 3 A/250 V AC.UL listed, 75°C max temperature rating.
-
Use for Ceiling Fans, Wall Lamps, Cabinet Light, Appliances, Replacement Speed Control.Works well in Hunter, Casablanca, Harbor Breeze, Hampton Bay and so on
-
UL/CSA certification.100% Satisfaction guarantee,12-Month Warranty and 30 Days Money Back Guarantee. Any issue , please feel free to contact us and we are always at your service.
About Ceiling Fan Light Switch Zing Ear Pull Chain Switch
Note: Disconnect the power to the fan before removing the old switch. Make sure to write down the position of all wires that you disconnect in the process of removing the switch. Do not cut wires from old switch, but remove by inserting blade of very small screwdriver next to wire and pulling out. Then insert the tinned wires in the same order as removed into the new switch." (If you cut the wire you will lose the stiff tinned end and make it difficult to insert into the new switch unless you strip and re-tin it again with a soldering iron).